Your first tagging session
In about fifteen minutes you'll open an album, fix tags on one file and then on all of them at once, look inside a file's complete tag, and rename every file from its tags. You'll also undo a change, so you can recover a change during the session. Keep your original files as a backup.
You need:
- OpenTag installed (download a desktop package)
- A folder with a few music files, ideally one album
Practise on a copy
OpenTag changes your files when you save. Copy an album folder to your desktop and use the copy for this tutorial. The screenshots use an invented album, Harbour Lights by Juniper Vale. Your own music will look different, and the steps are the same.
1. Open the album
Choose File → Change directory… (Cmd+D / Ctrl+D) and pick the album folder. You can also drag the folder from Finder, Explorer or your file manager onto the OpenTag window, or click Open folder in the toolbar.
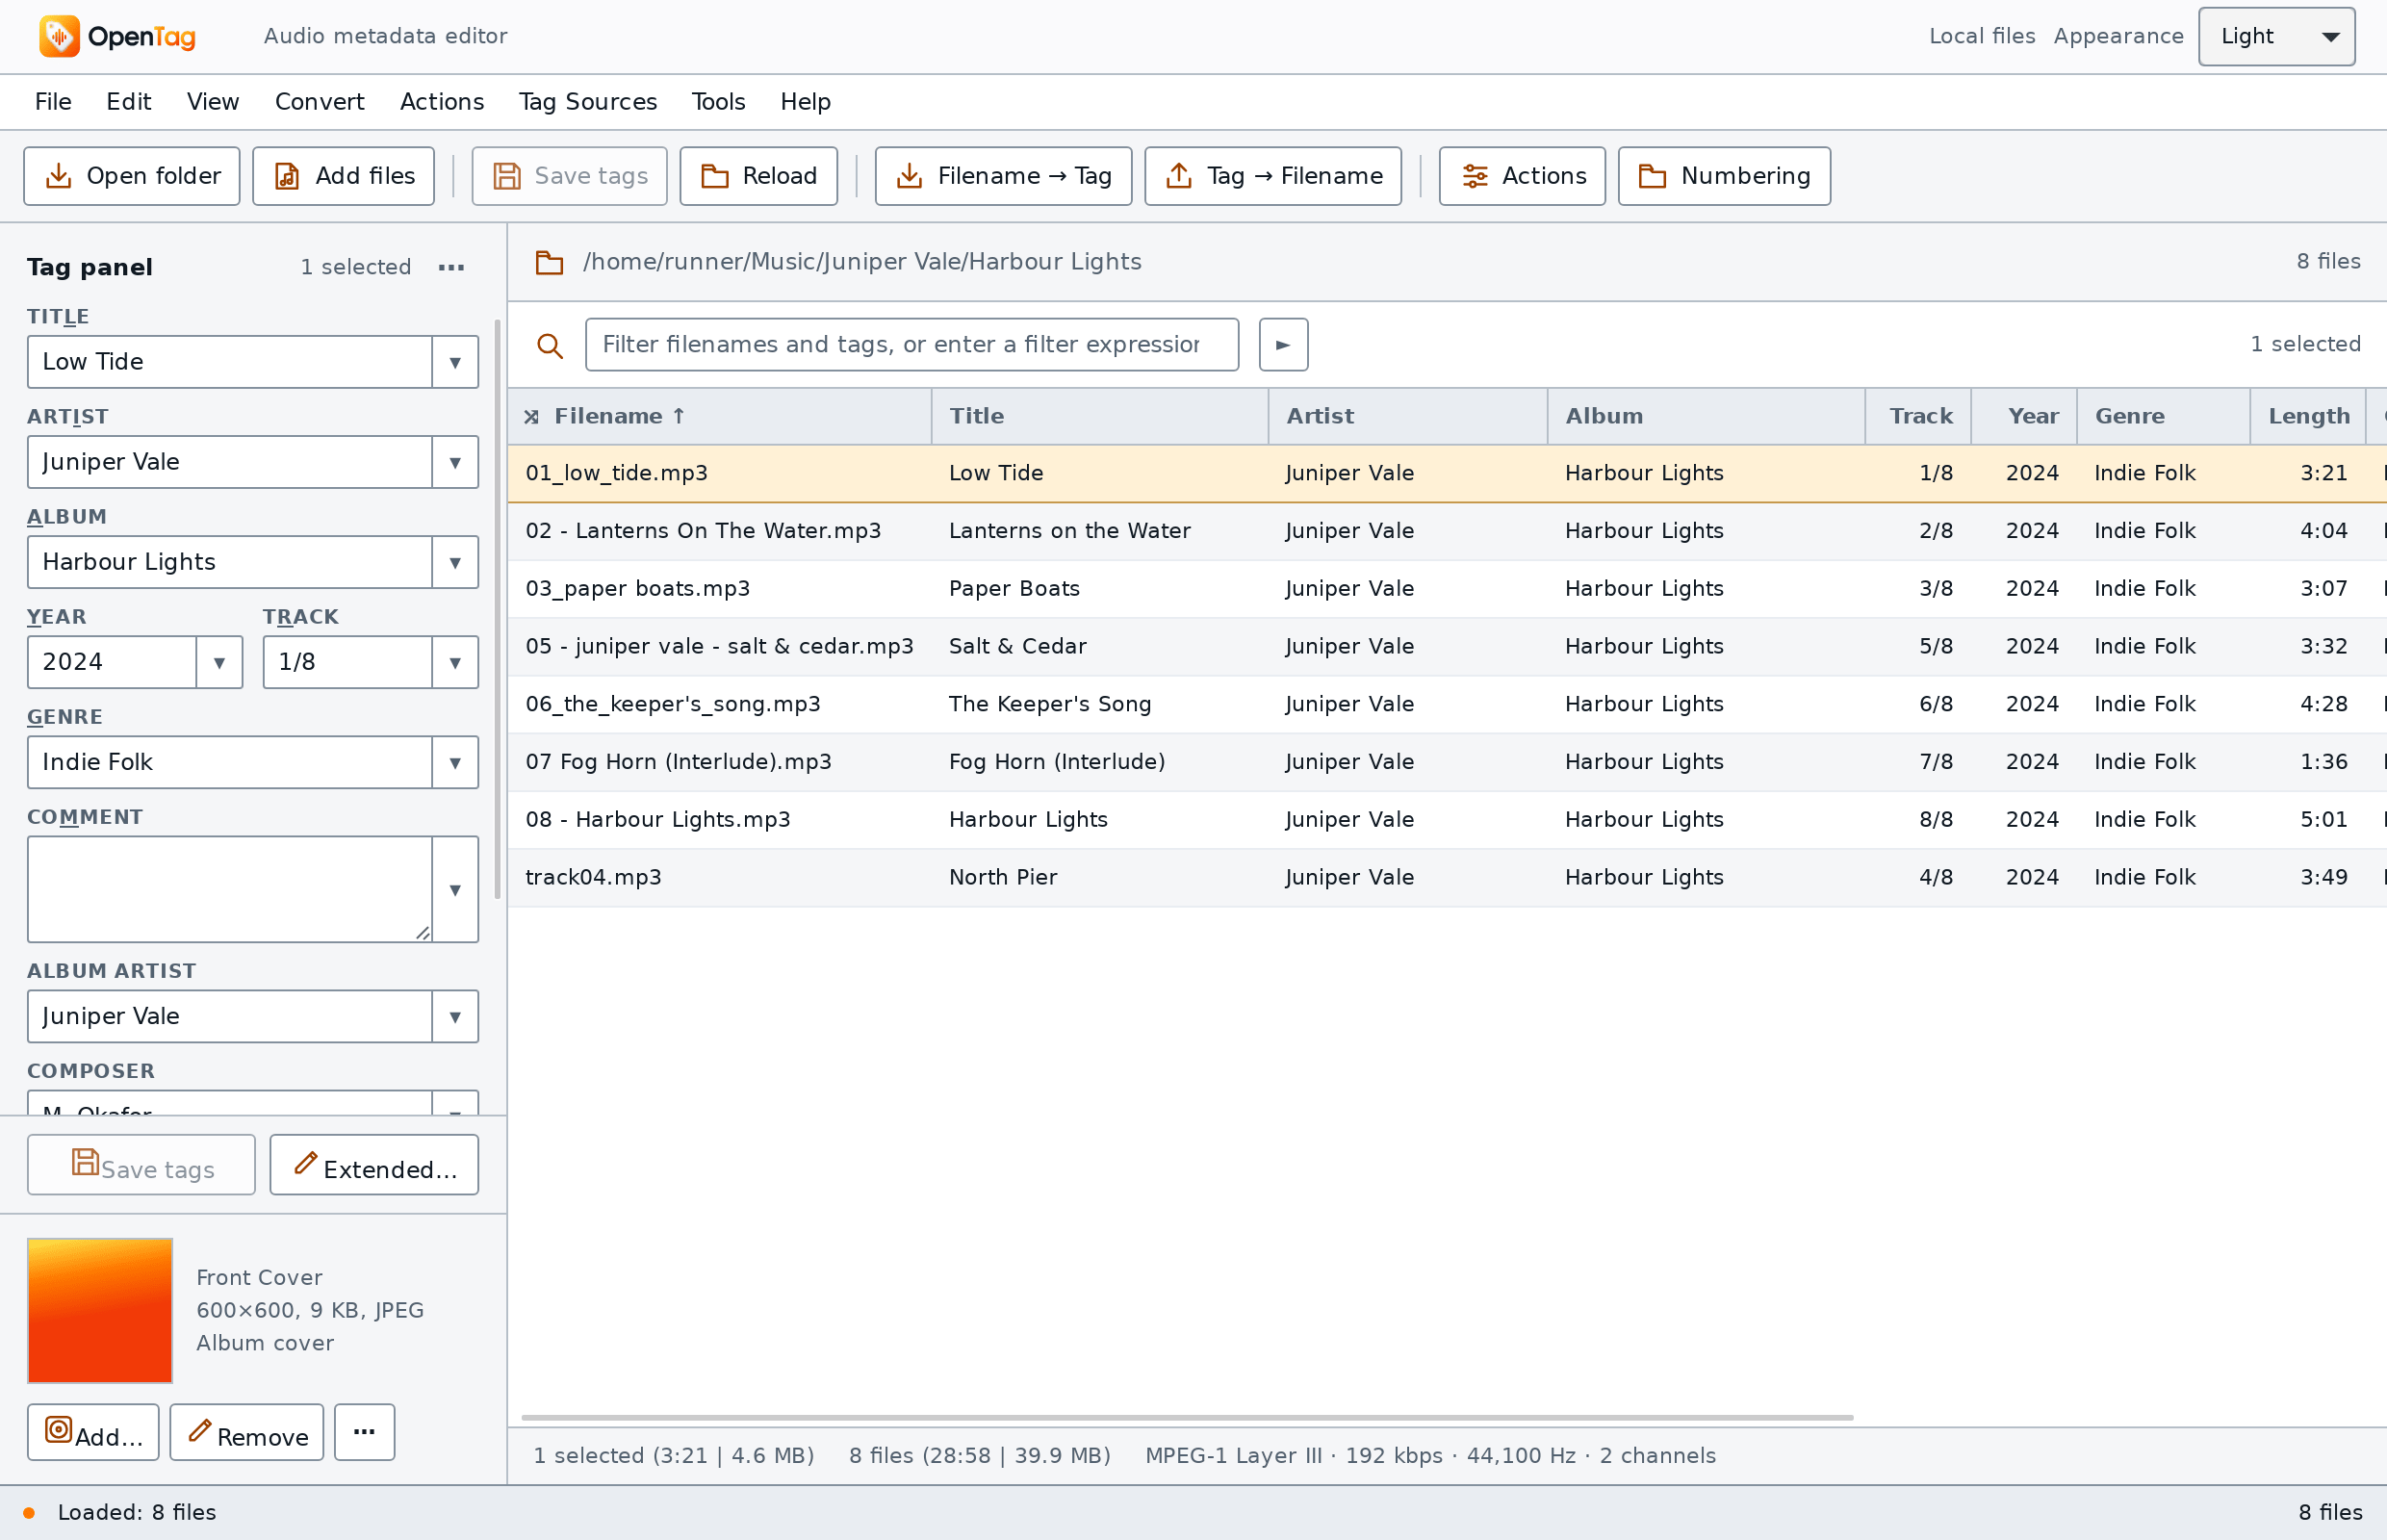
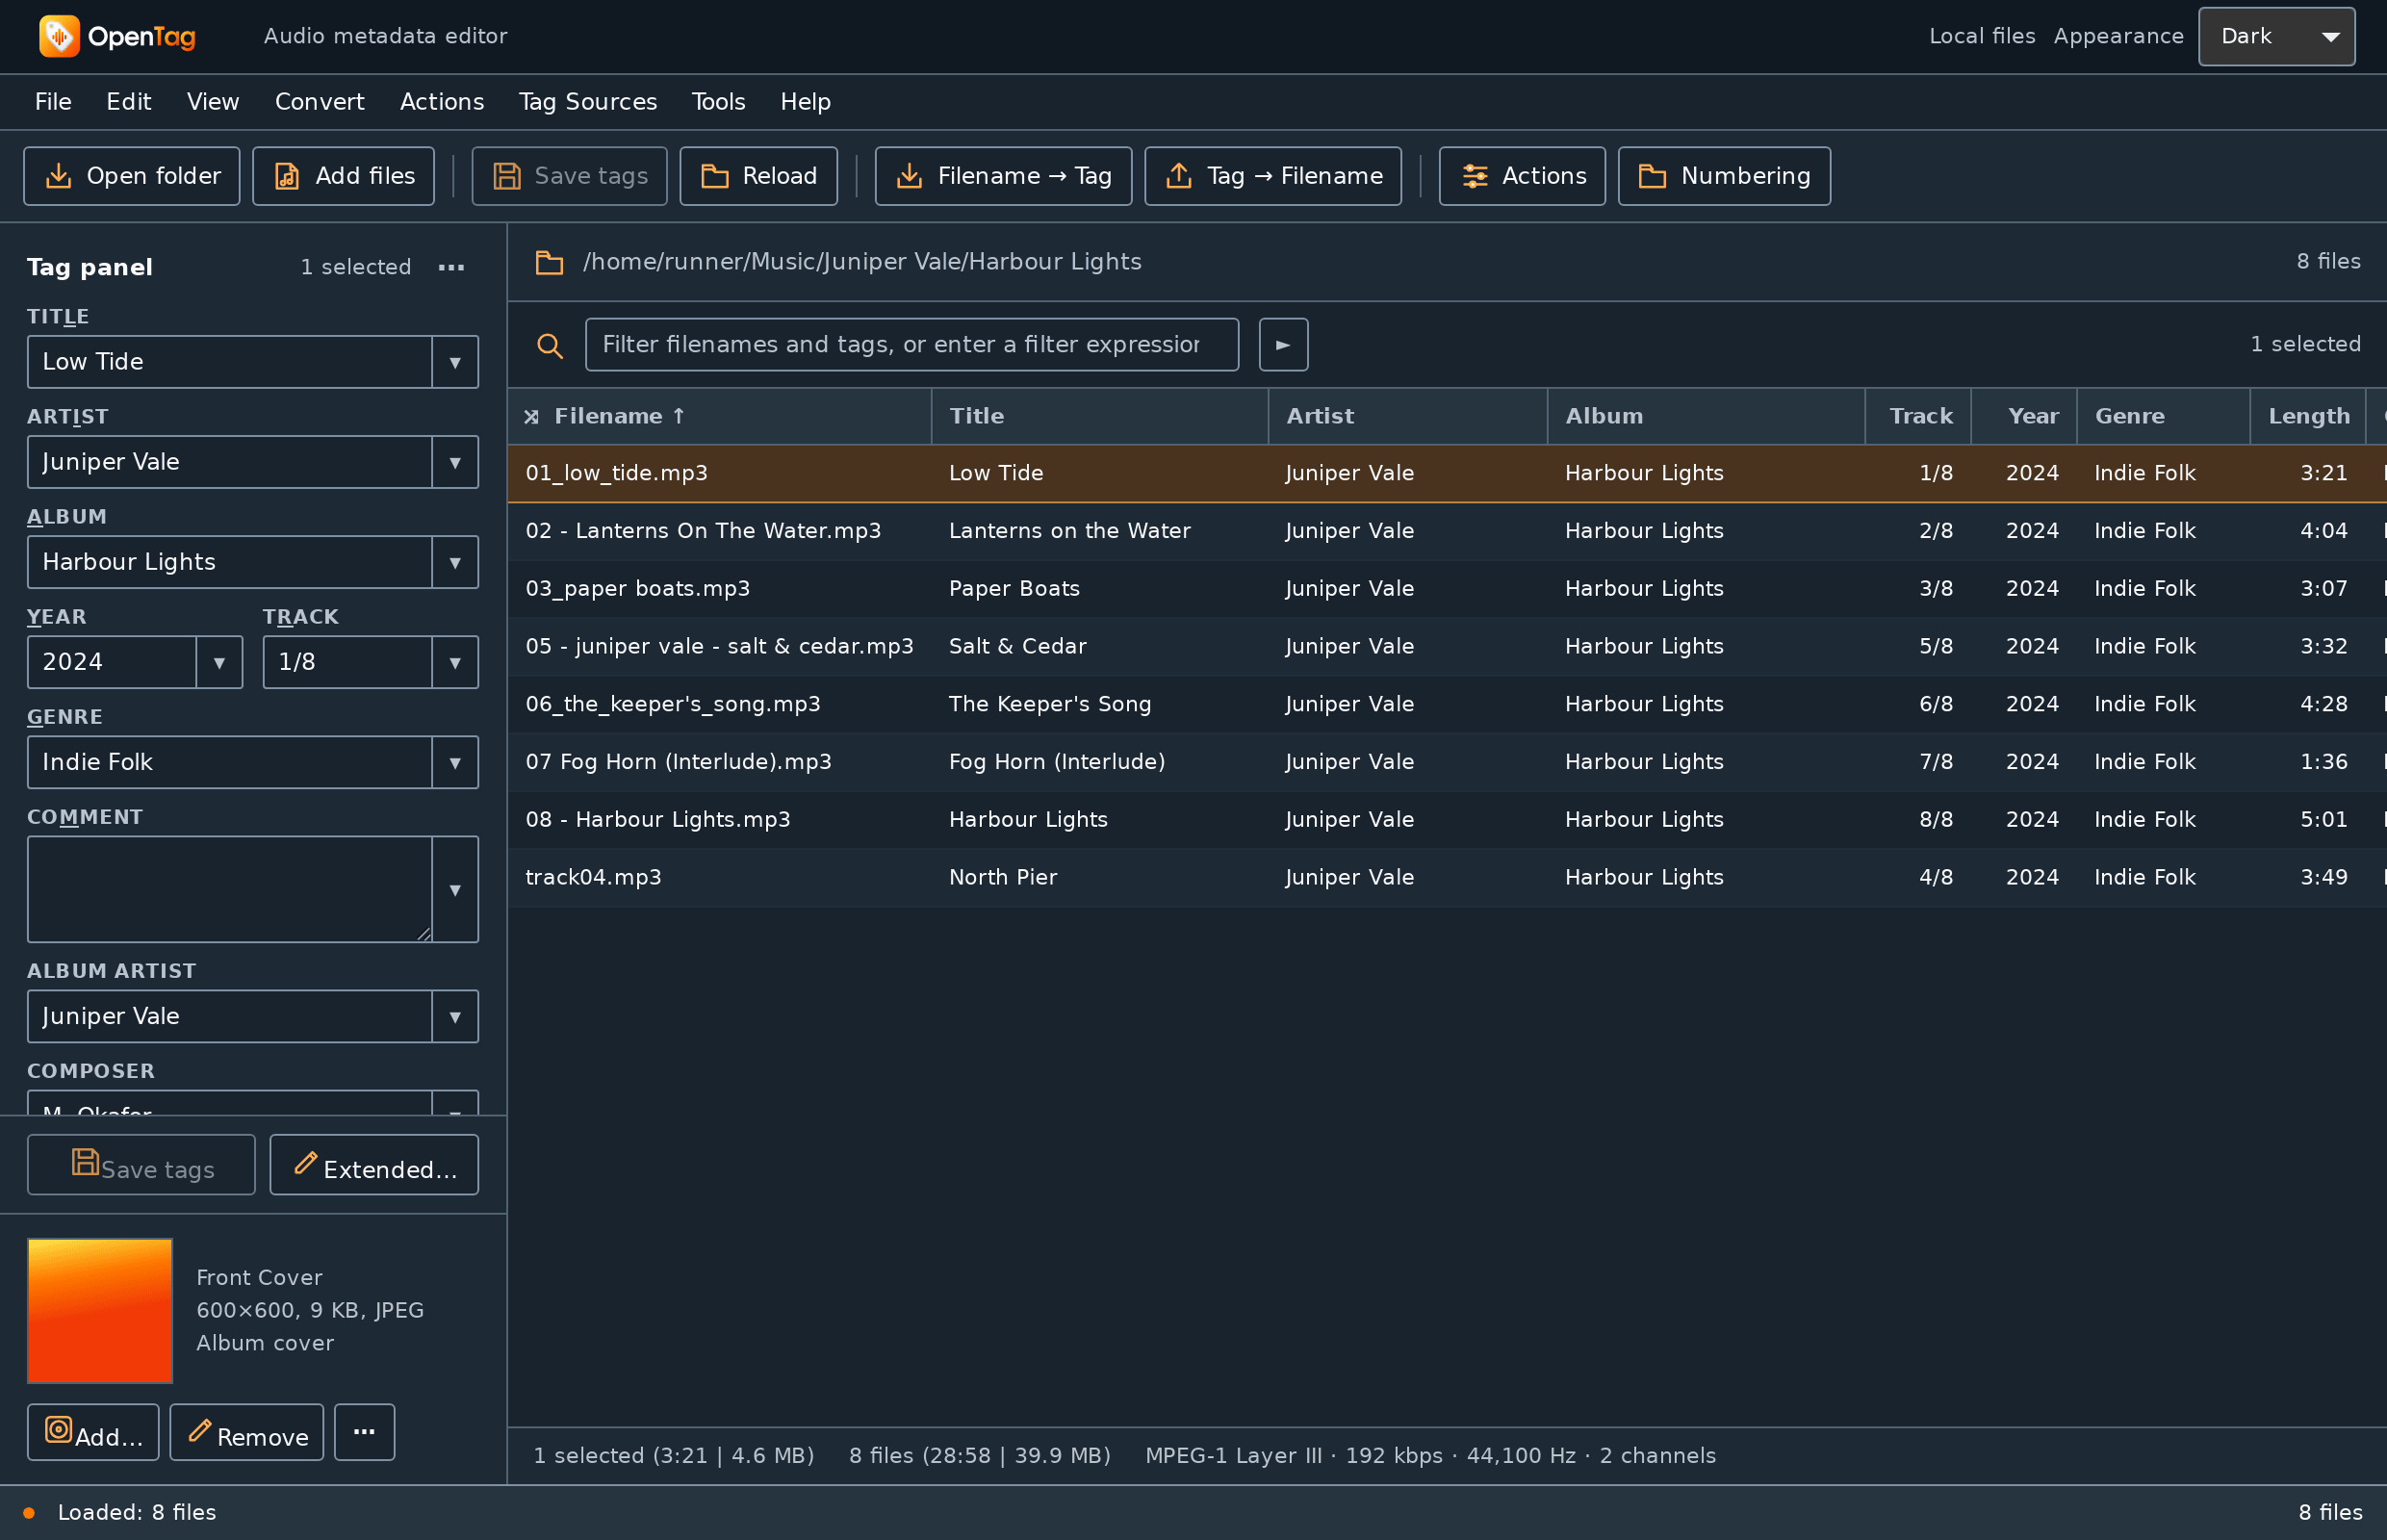
The window has two main parts:
- The file list on the right has one row per file. Its columns show the file name and the most important tags. Click a column header to sort by it.
- The tag panel on the left shows the tags of the file you selected. This is where you edit.
The bar at the bottom of the file list describes the selection: how many files, their playing time and size, and the audio format of the selected file.
Don't see subfolders?
By default OpenTag also lists the files in subfolders, so a box set with
CD1 and CD2 folders appears as one list. You can change this under
File → Options… → Directories → Read subfolders.
2. Look at one file's tags
Click the first file in the list. The tag panel fills with its fields: Title, Artist, Album, Year, Track, Genre and more. If the file has cover art, it appears at the bottom of the panel with its type, size and format.
Each field has a ▾ button on the right. It opens a list of values you can pick from. For Genre, that includes the standard genre names.
3. Edit a field and save
Let's add a comment to this file.
- Click in the Comment field and type
First tagging session. - Look at the file list: the changed value is shown in the accent colour, and the status bar at the bottom of the window says 1 unsaved file. Your edit is pending: OpenTag remembers it, but the file on disk is unchanged.
- Press Cmd+S / Ctrl+S, or click Save tags under the tag panel.
The status bar now reports Saved tags: 1 file. The comment is written into the file, and any music player will see it.
Why edits wait for you to save
Pending edits let you change many fields, check them in the file list, and then write everything in one go. Until you save, you can throw edits away with Edit → Discard pending changes (Cmd+B / Ctrl+B). Save writes the pending edits of the selected files. If you edited several files, select them all before you save. When you try to close OpenTag or open another folder with edits still pending, it asks what to do.
4. Edit all files at once
Apply a shared value to every selected file. Suppose the whole album should have the genre Folk instead of Indie Folk.
- Click any file in the list, then press Cmd+A / Ctrl+A to select all files.
- Look at the tag panel. Fields that are the same in every selected file
show that value: Artist, Album, Year, Genre. Fields that differ, like
Title and Track, show
< keep >.
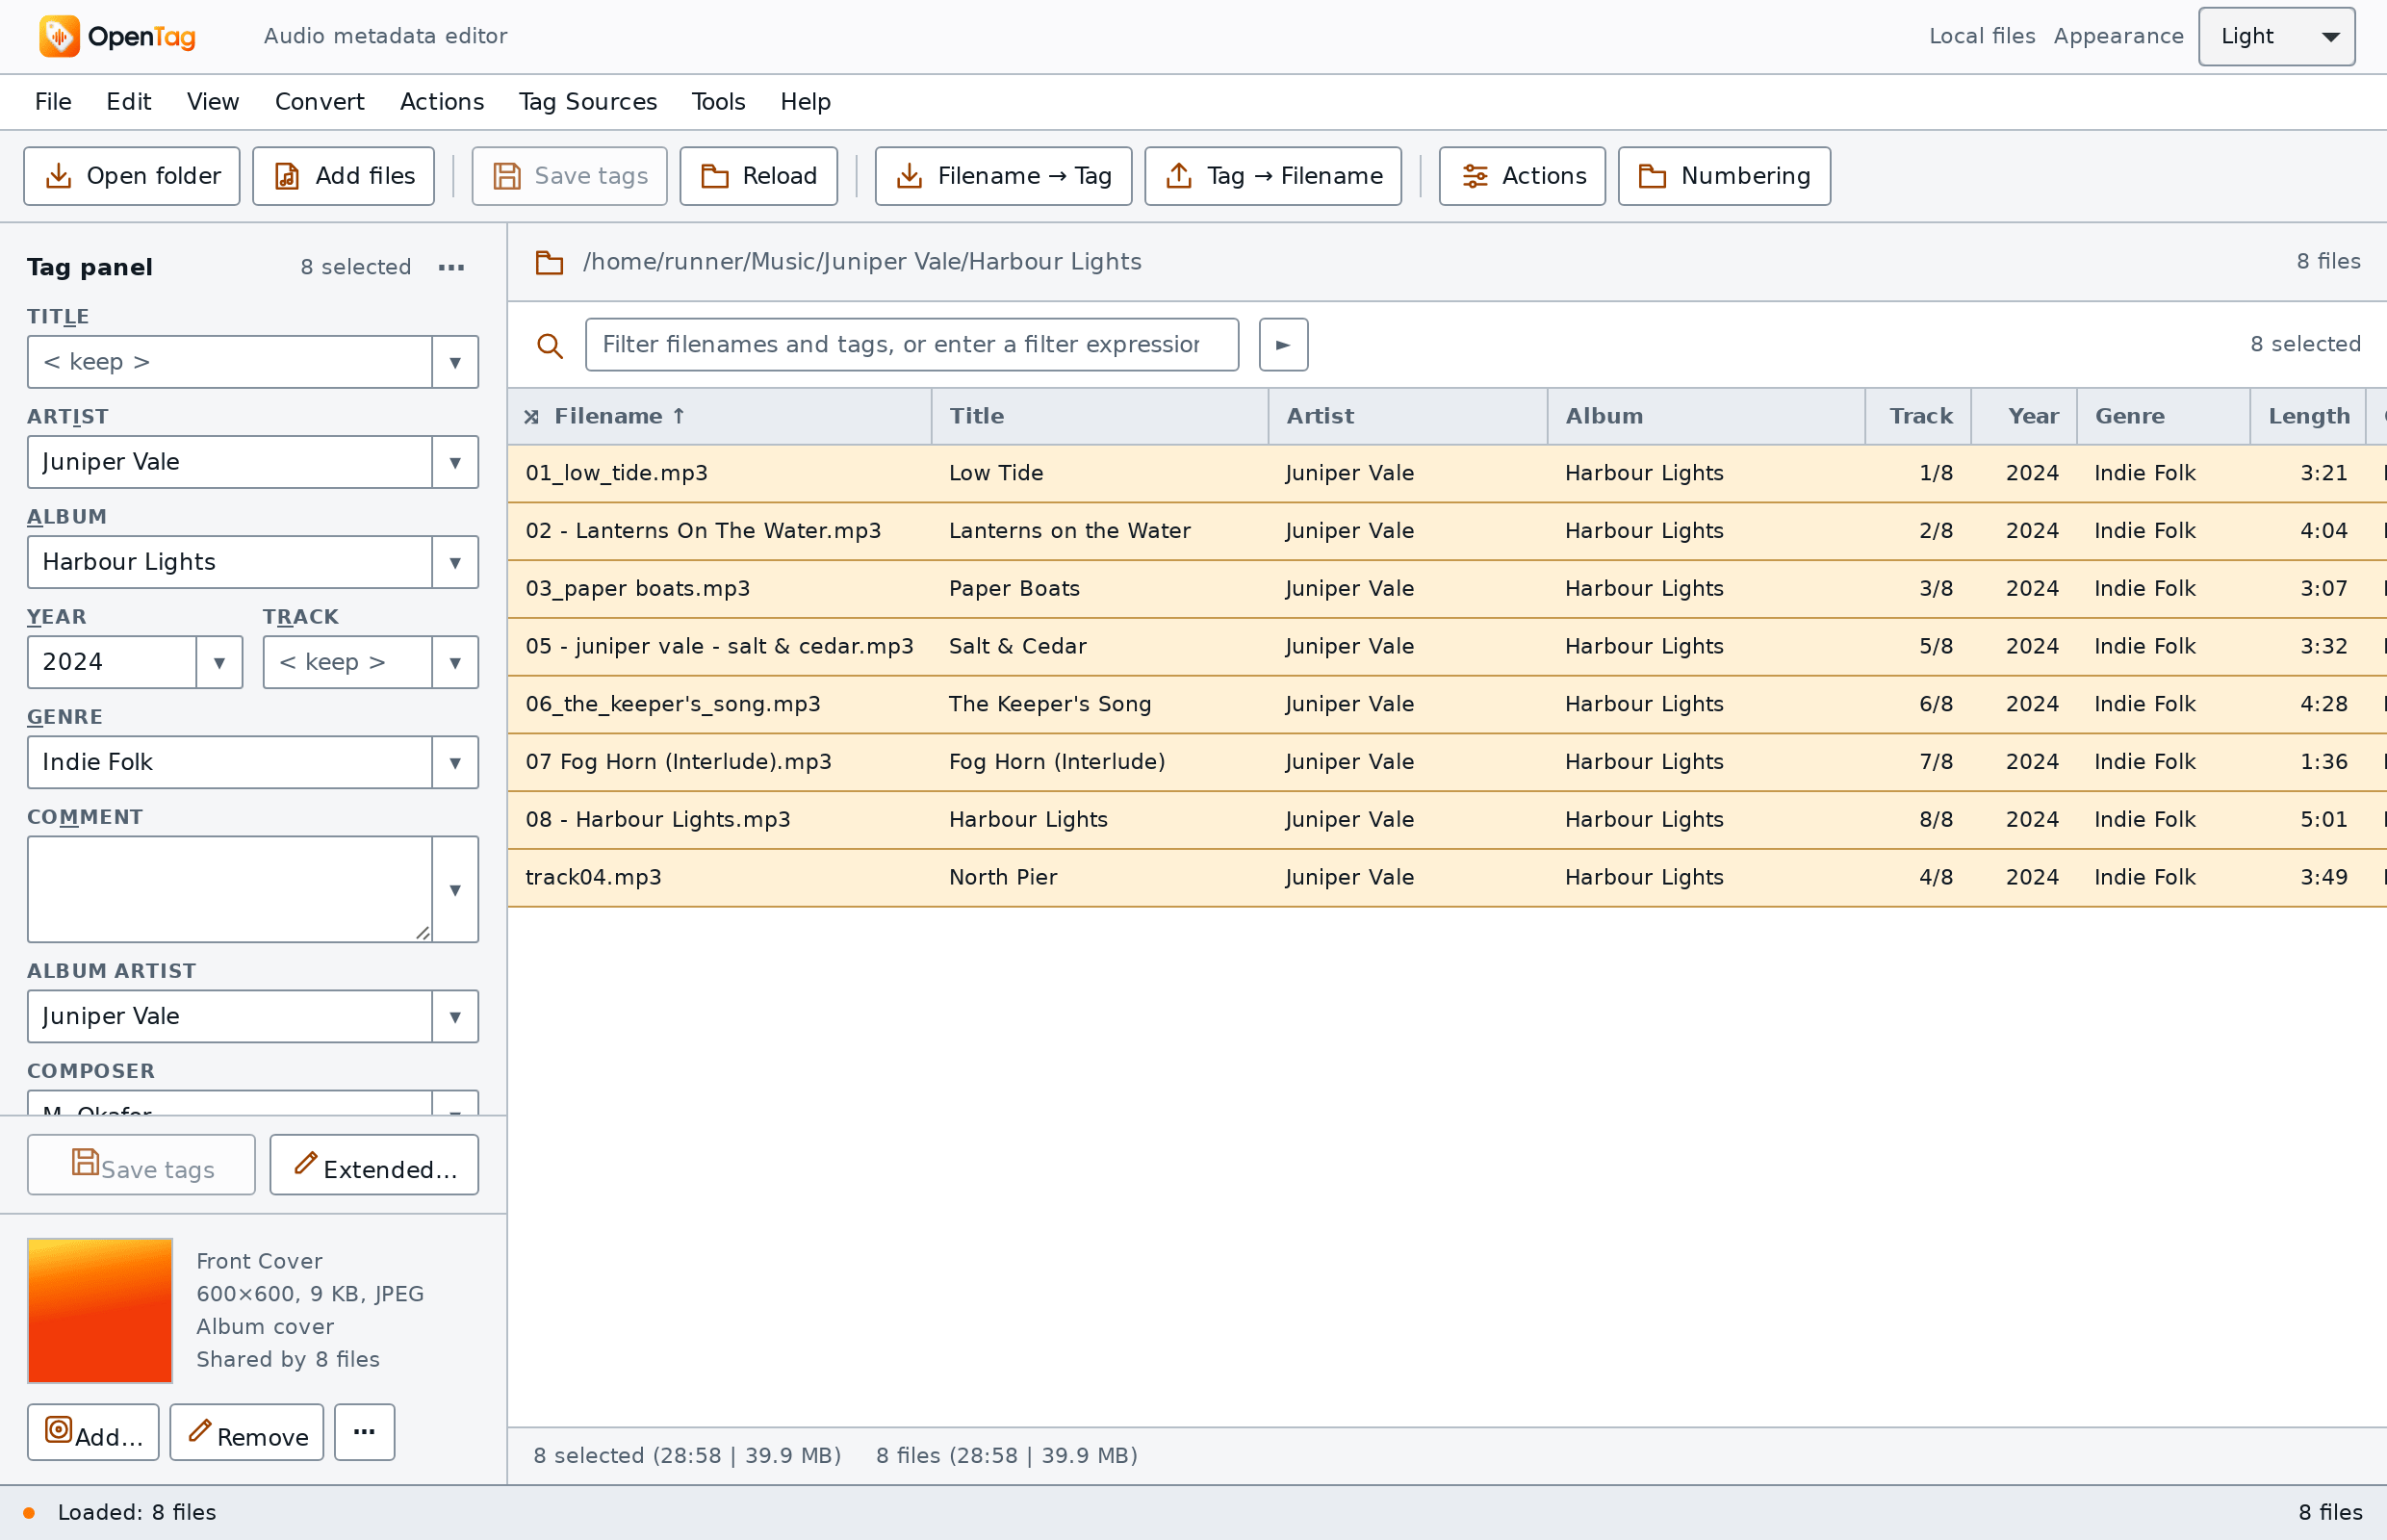
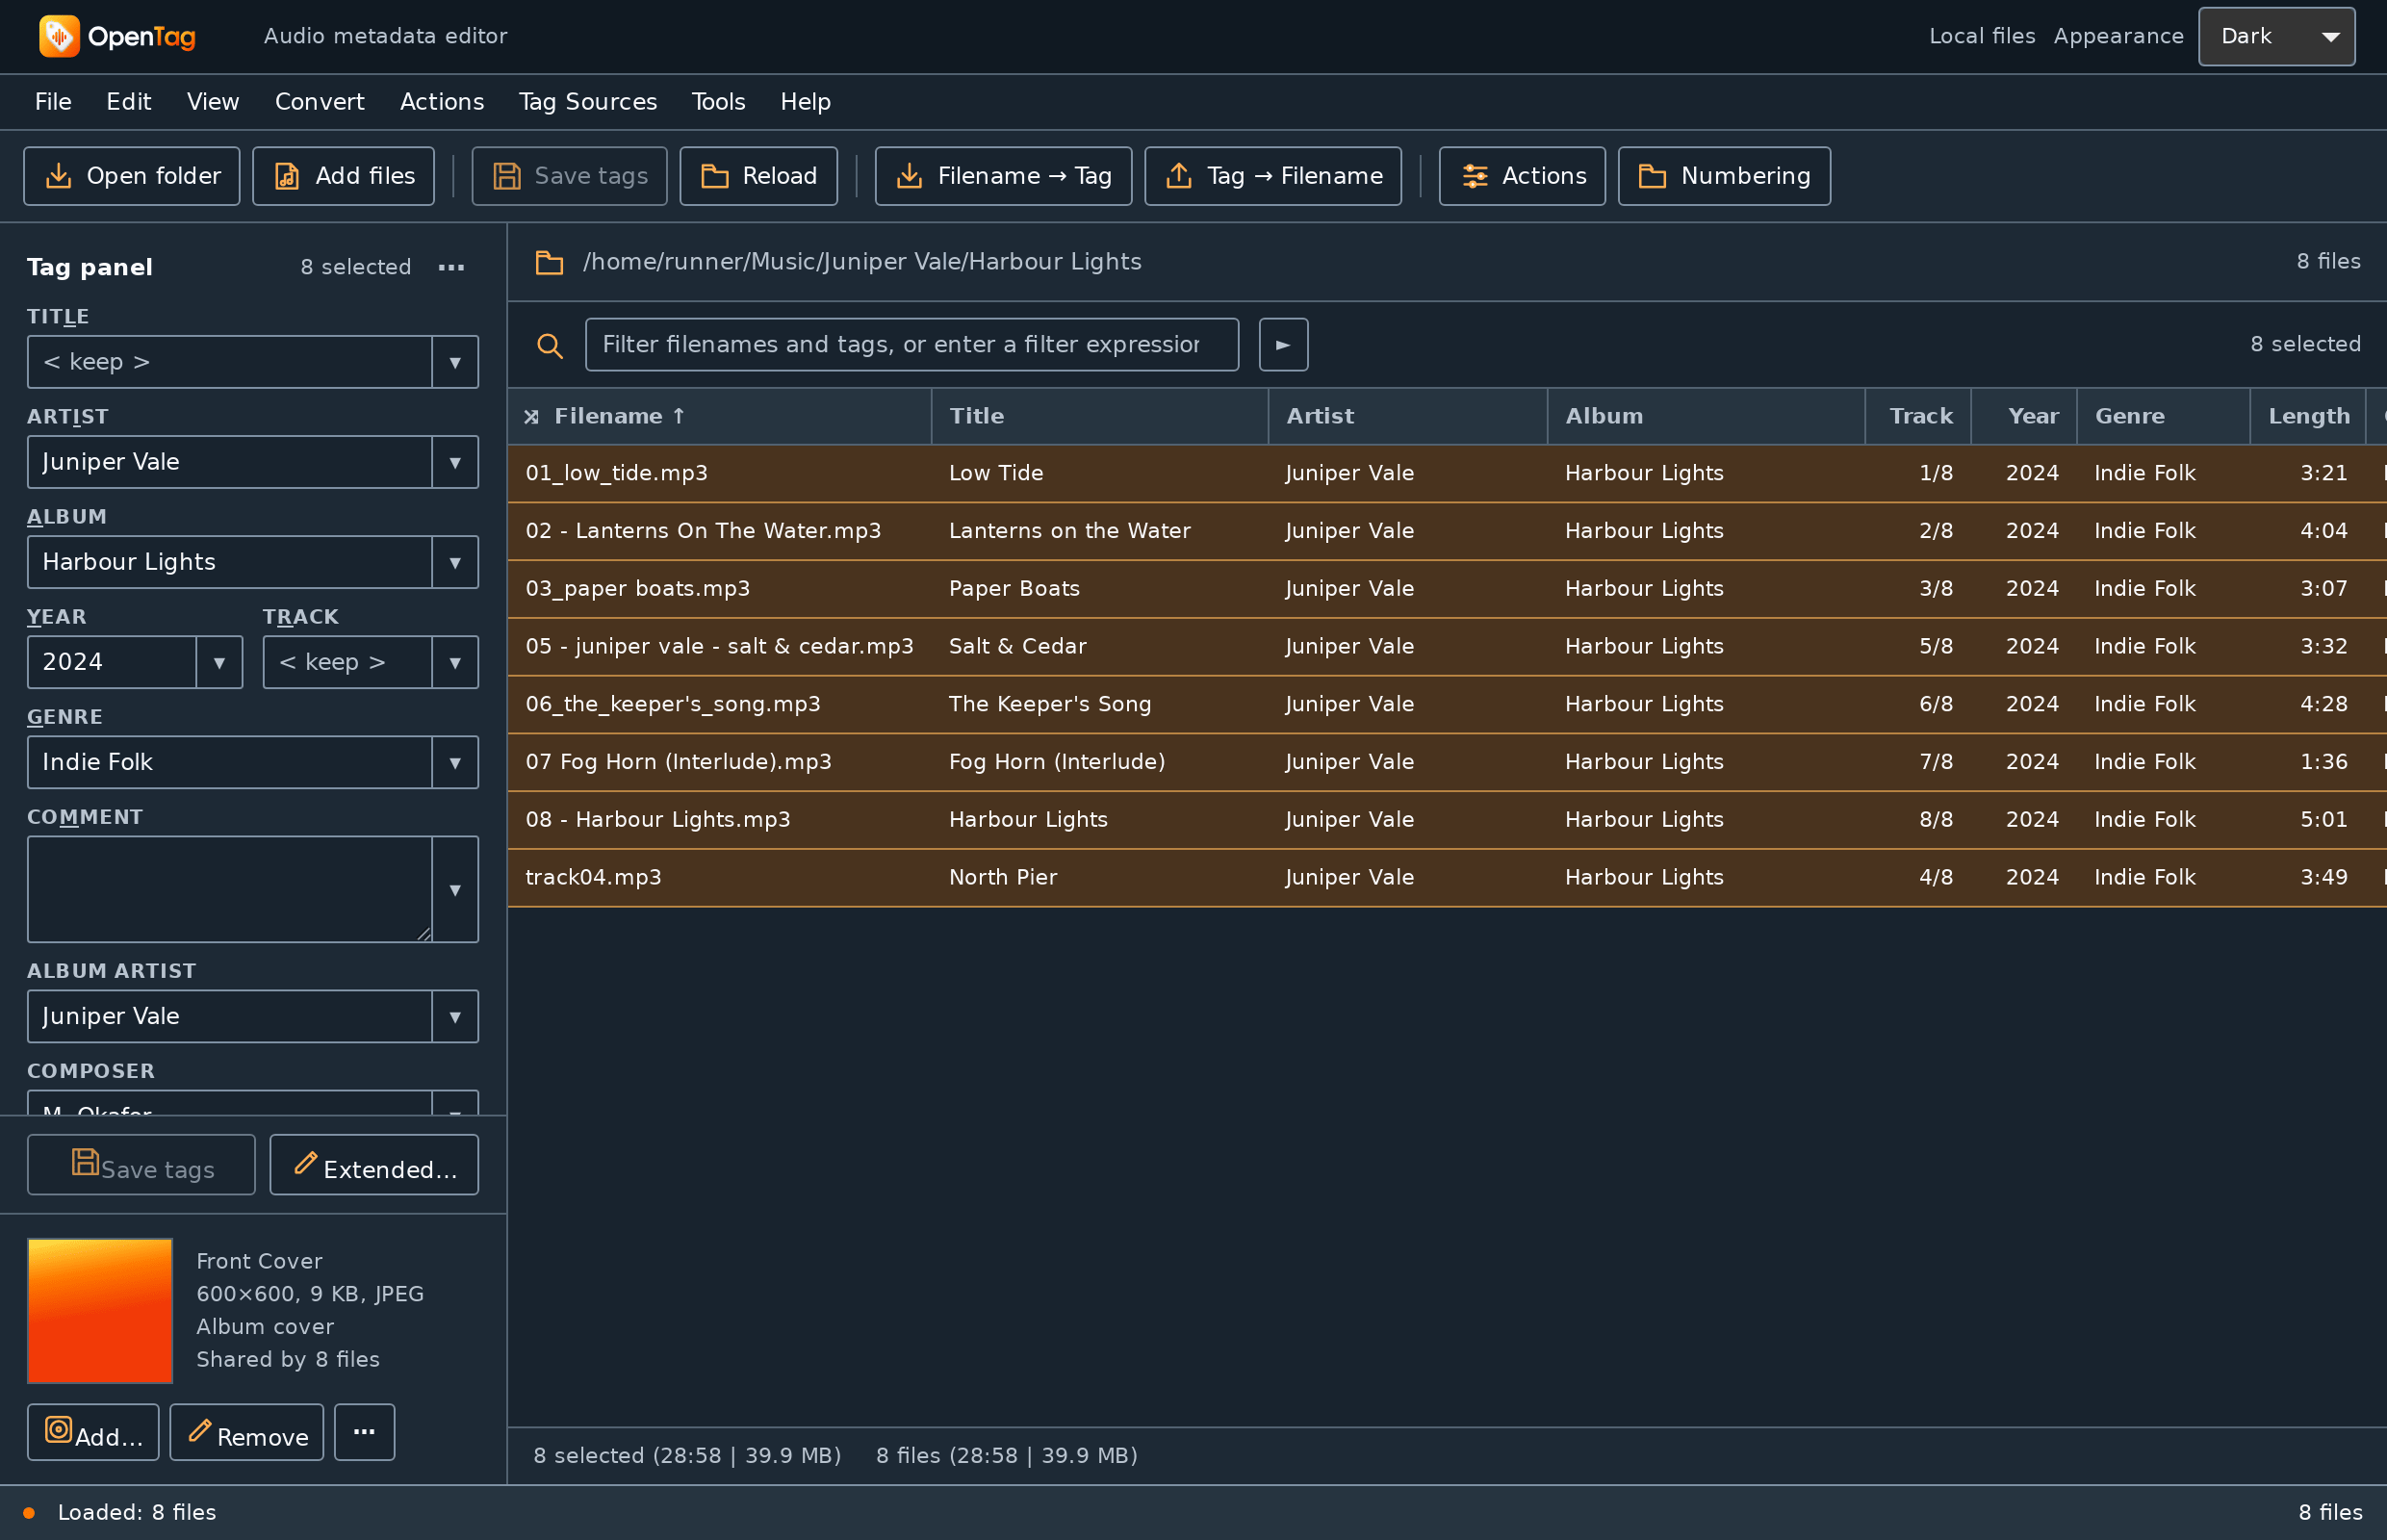
< keep >. Leaving them alone keeps each file's own value.- Select the text in the Genre field, type
Folkand press Cmd+S / Ctrl+S.
All eight files now have the genre Folk, and every title and track number is
untouched. < keep > shows the rule of the tag panel: a field you don't touch is
never changed.
How do I empty a field in every selected file?
Typing nothing leaves the field at < keep >. To clear it, open the
field's ▾ list and choose < blank >, then save.
5. See everything in a file's tag
The tag panel shows the common fields only. A file can hold many more: composer, lyrics, sort names, identifiers from online databases and fields that other programs invented.
Select one file and press Alt+T (Alt is ⌥ Option on a Mac), or click Extended… under the tag panel.
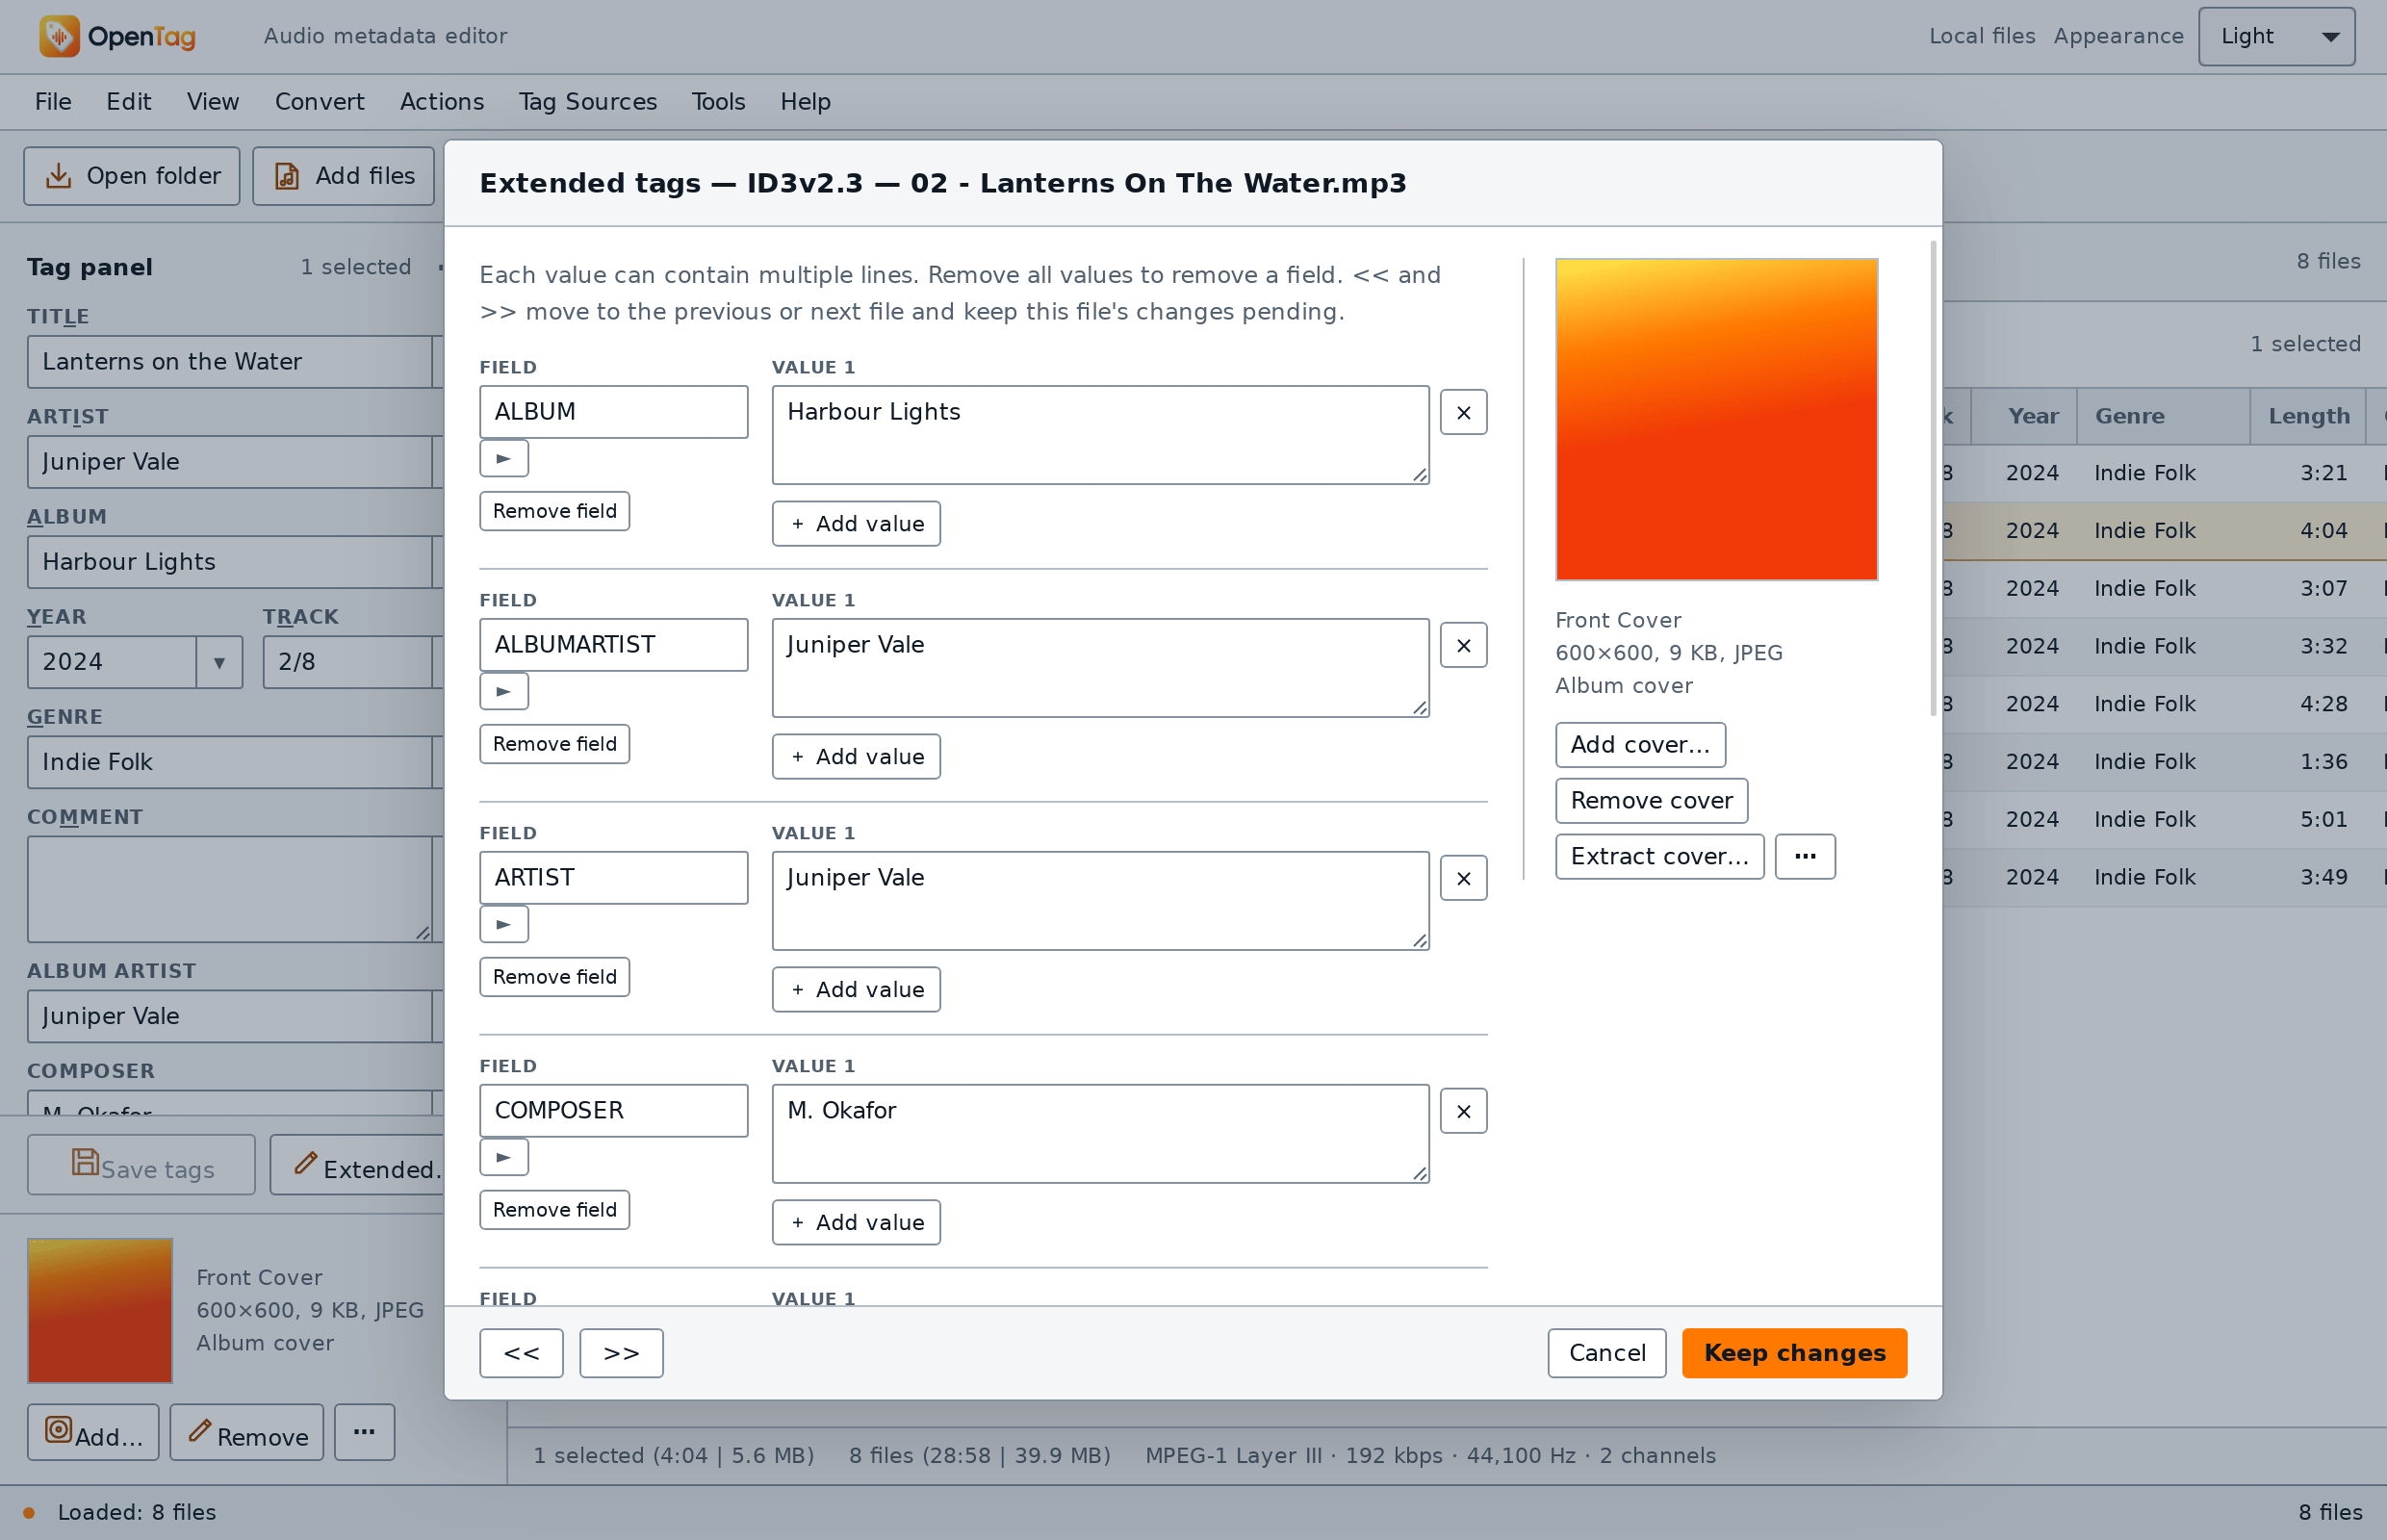
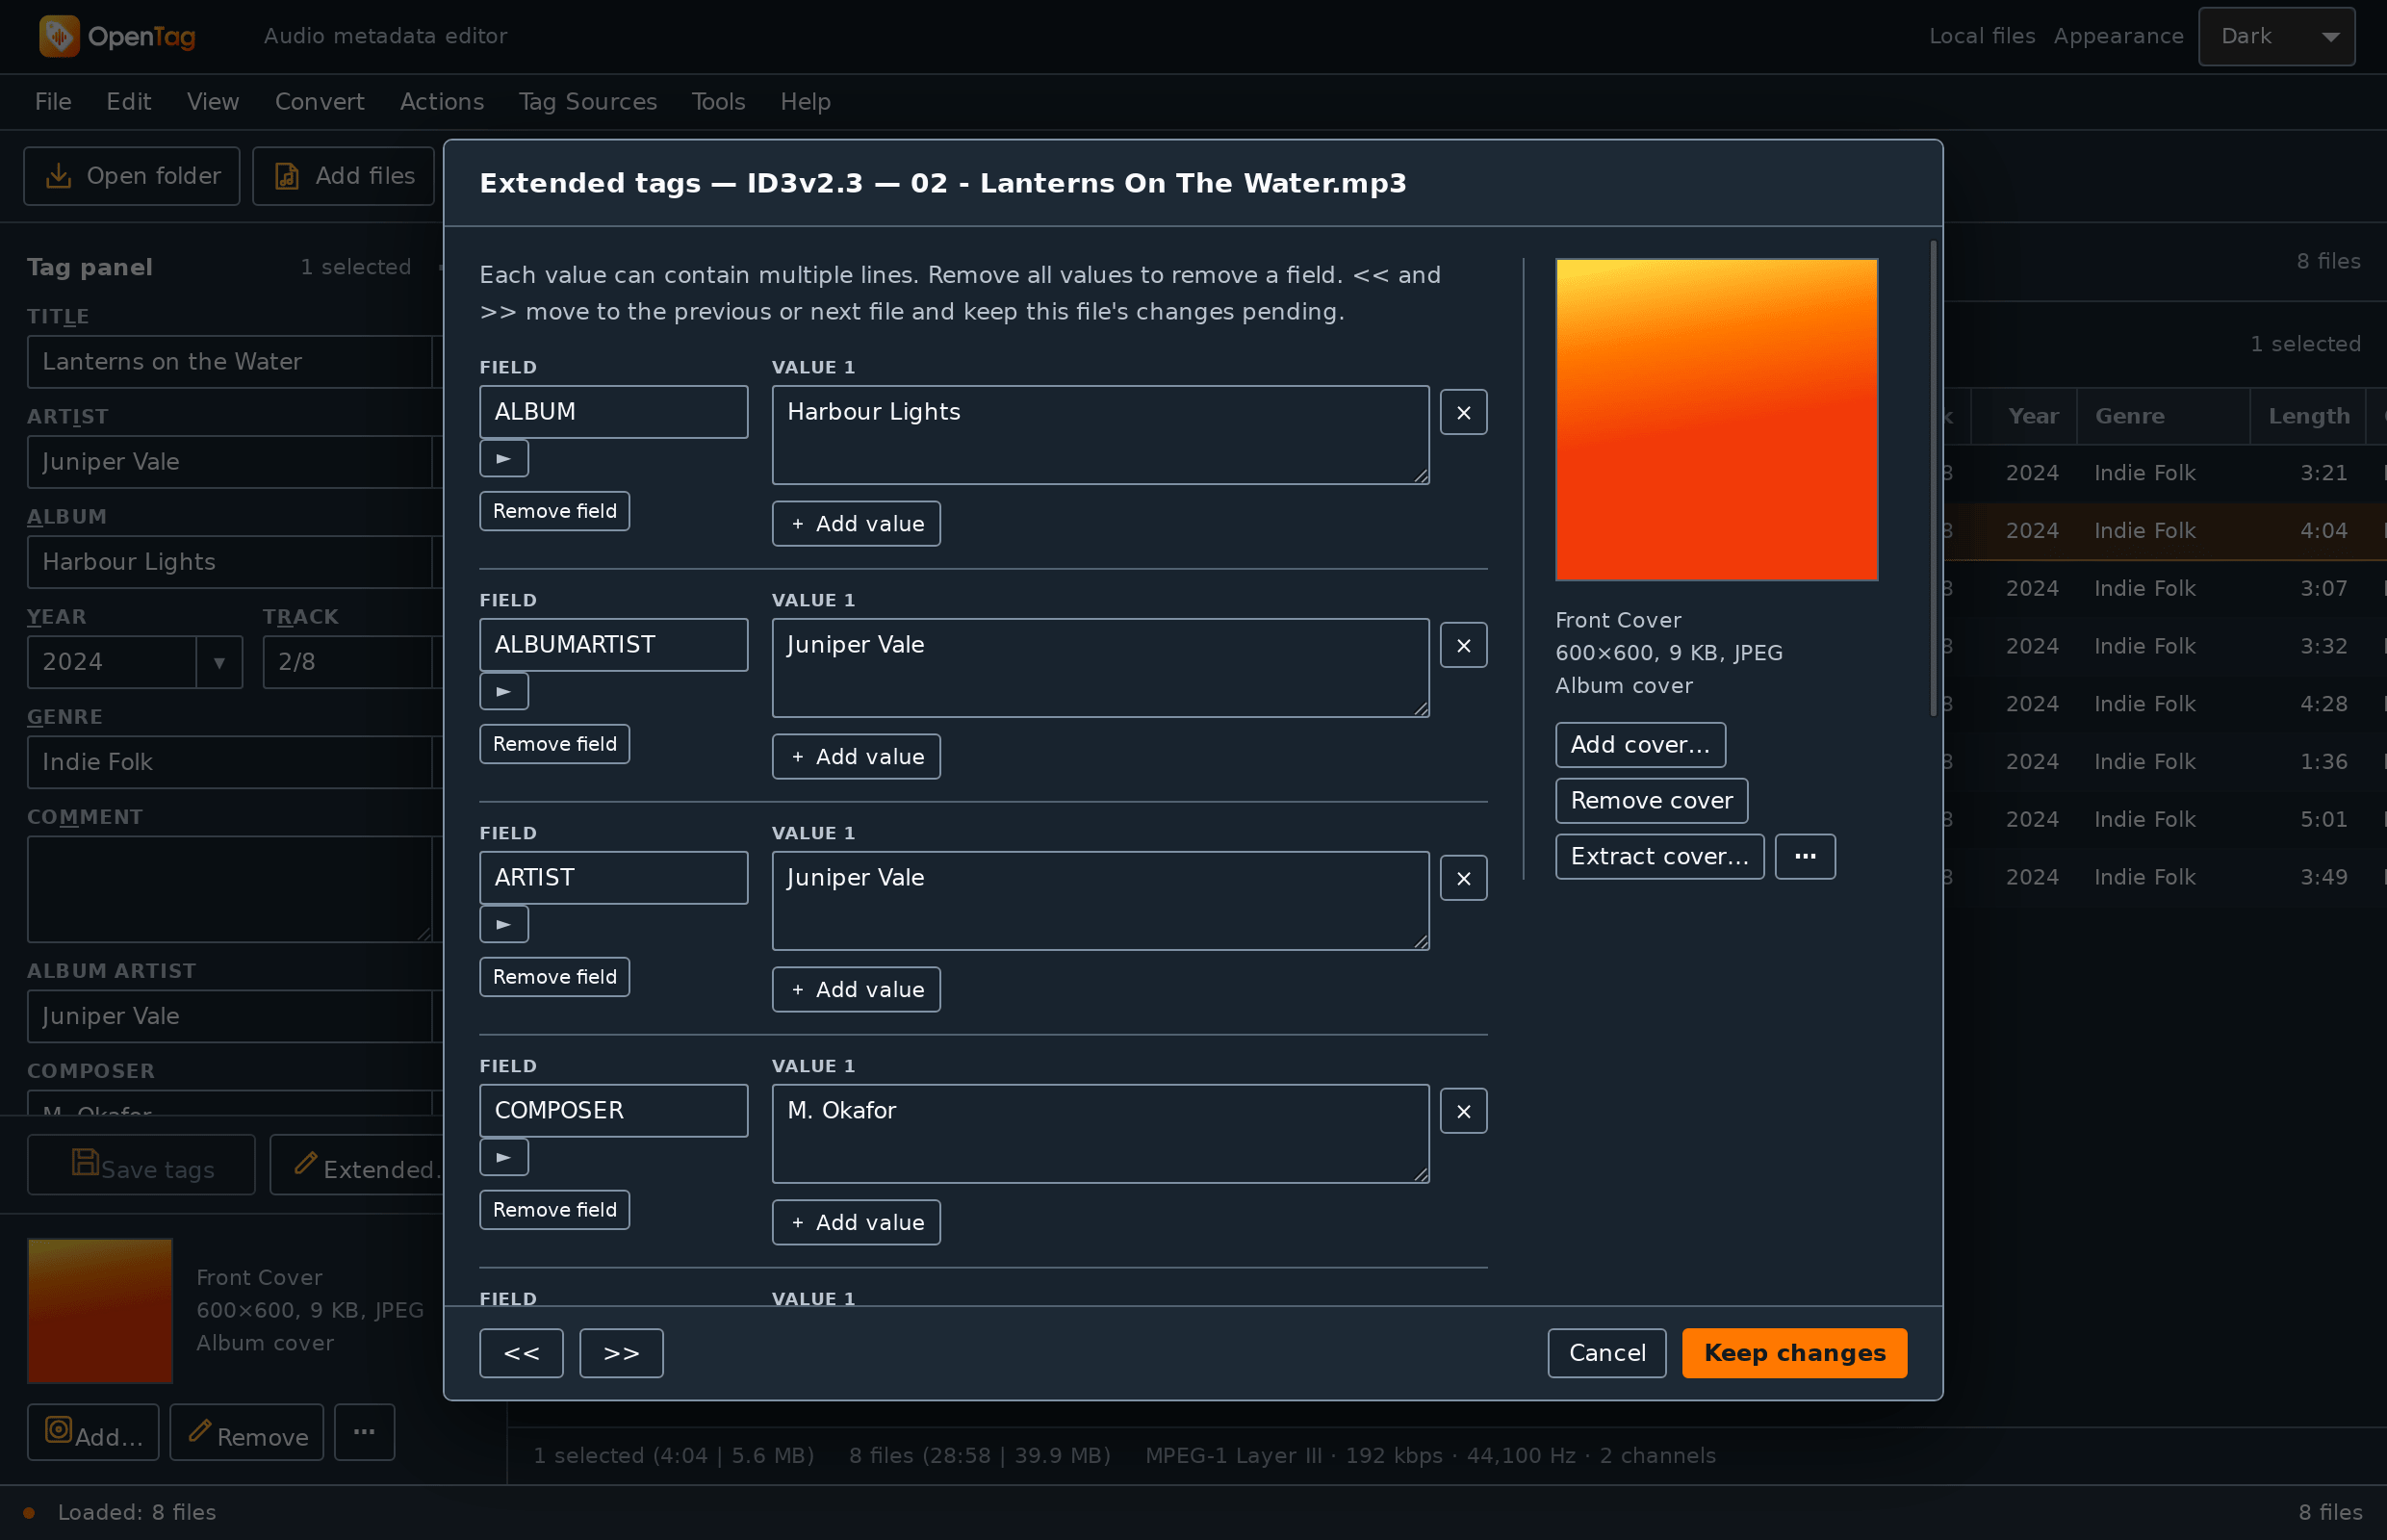
Here you can edit any field, give a field several values with + Add value, and add fields of your own with + Add field. Close the dialog with Cancel for now.
6. Rename the files from their tags
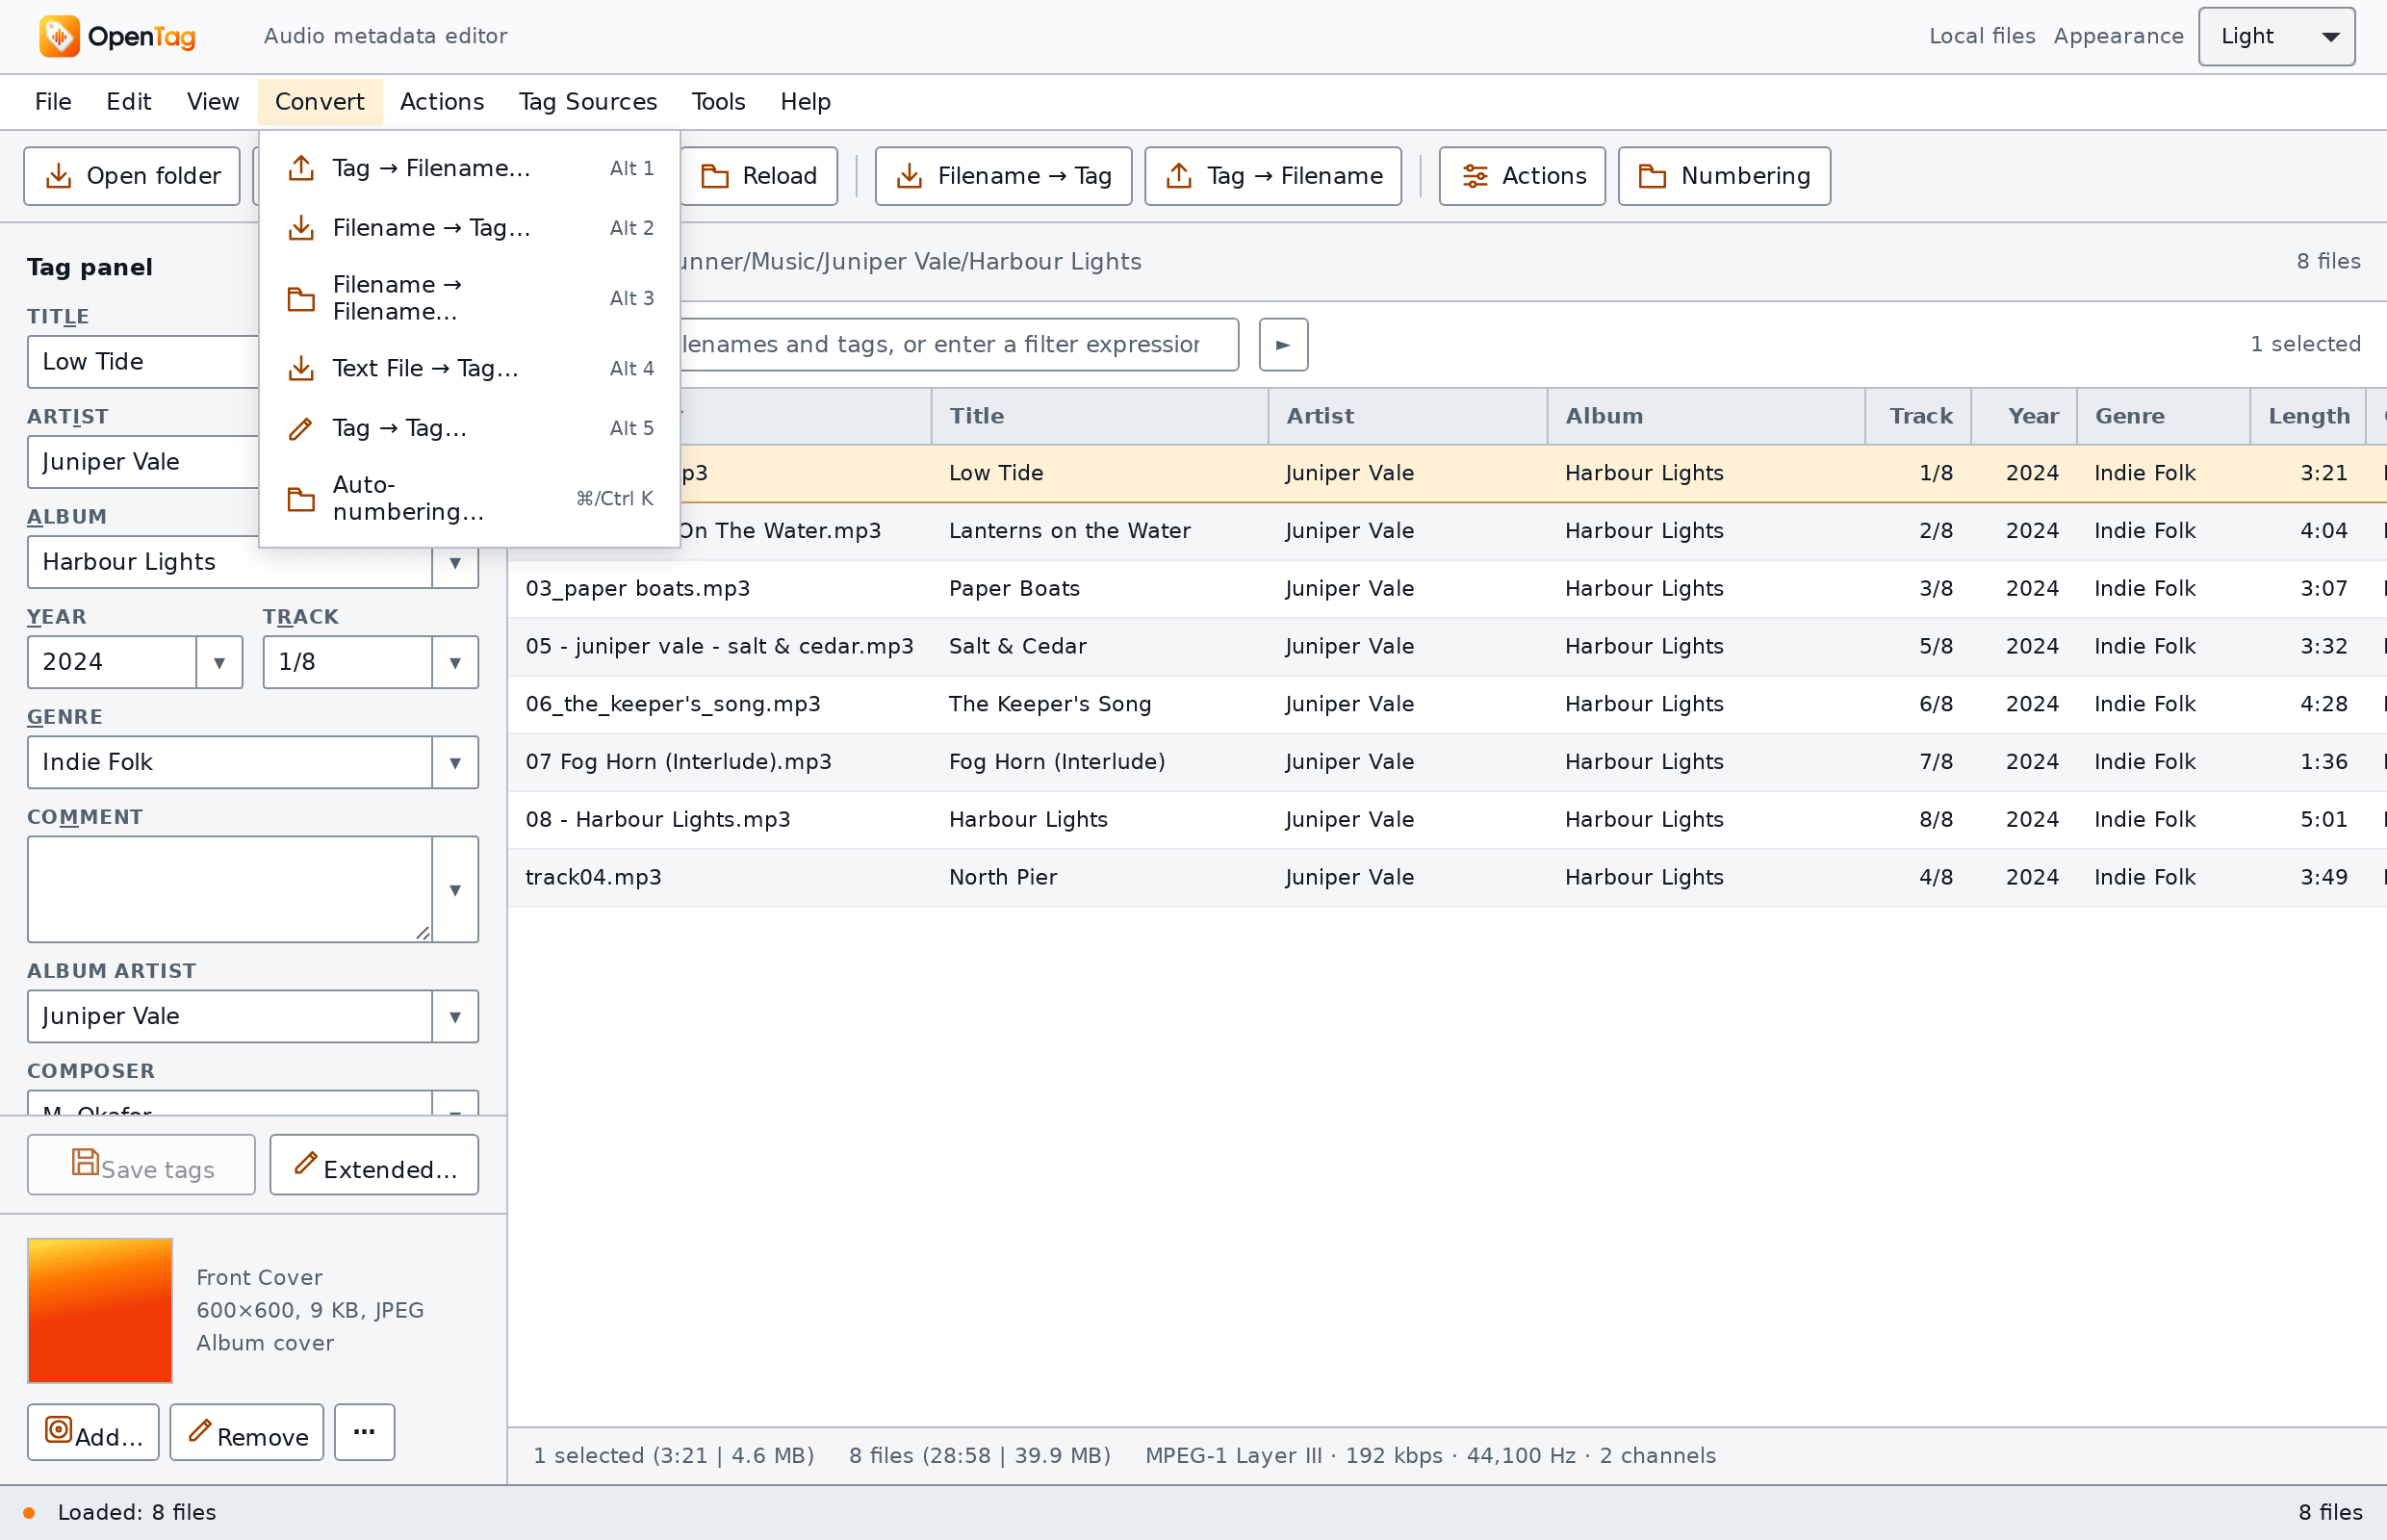
Look at the file names in the list: 01_low_tide.mp3, track04.mp3,
05 - juniper vale - salt & cedar.mp3. Every file is named differently. The tags
are tidy, though, so let OpenTag build the names from them.
- Select all files (Cmd+A / Ctrl+A).
-
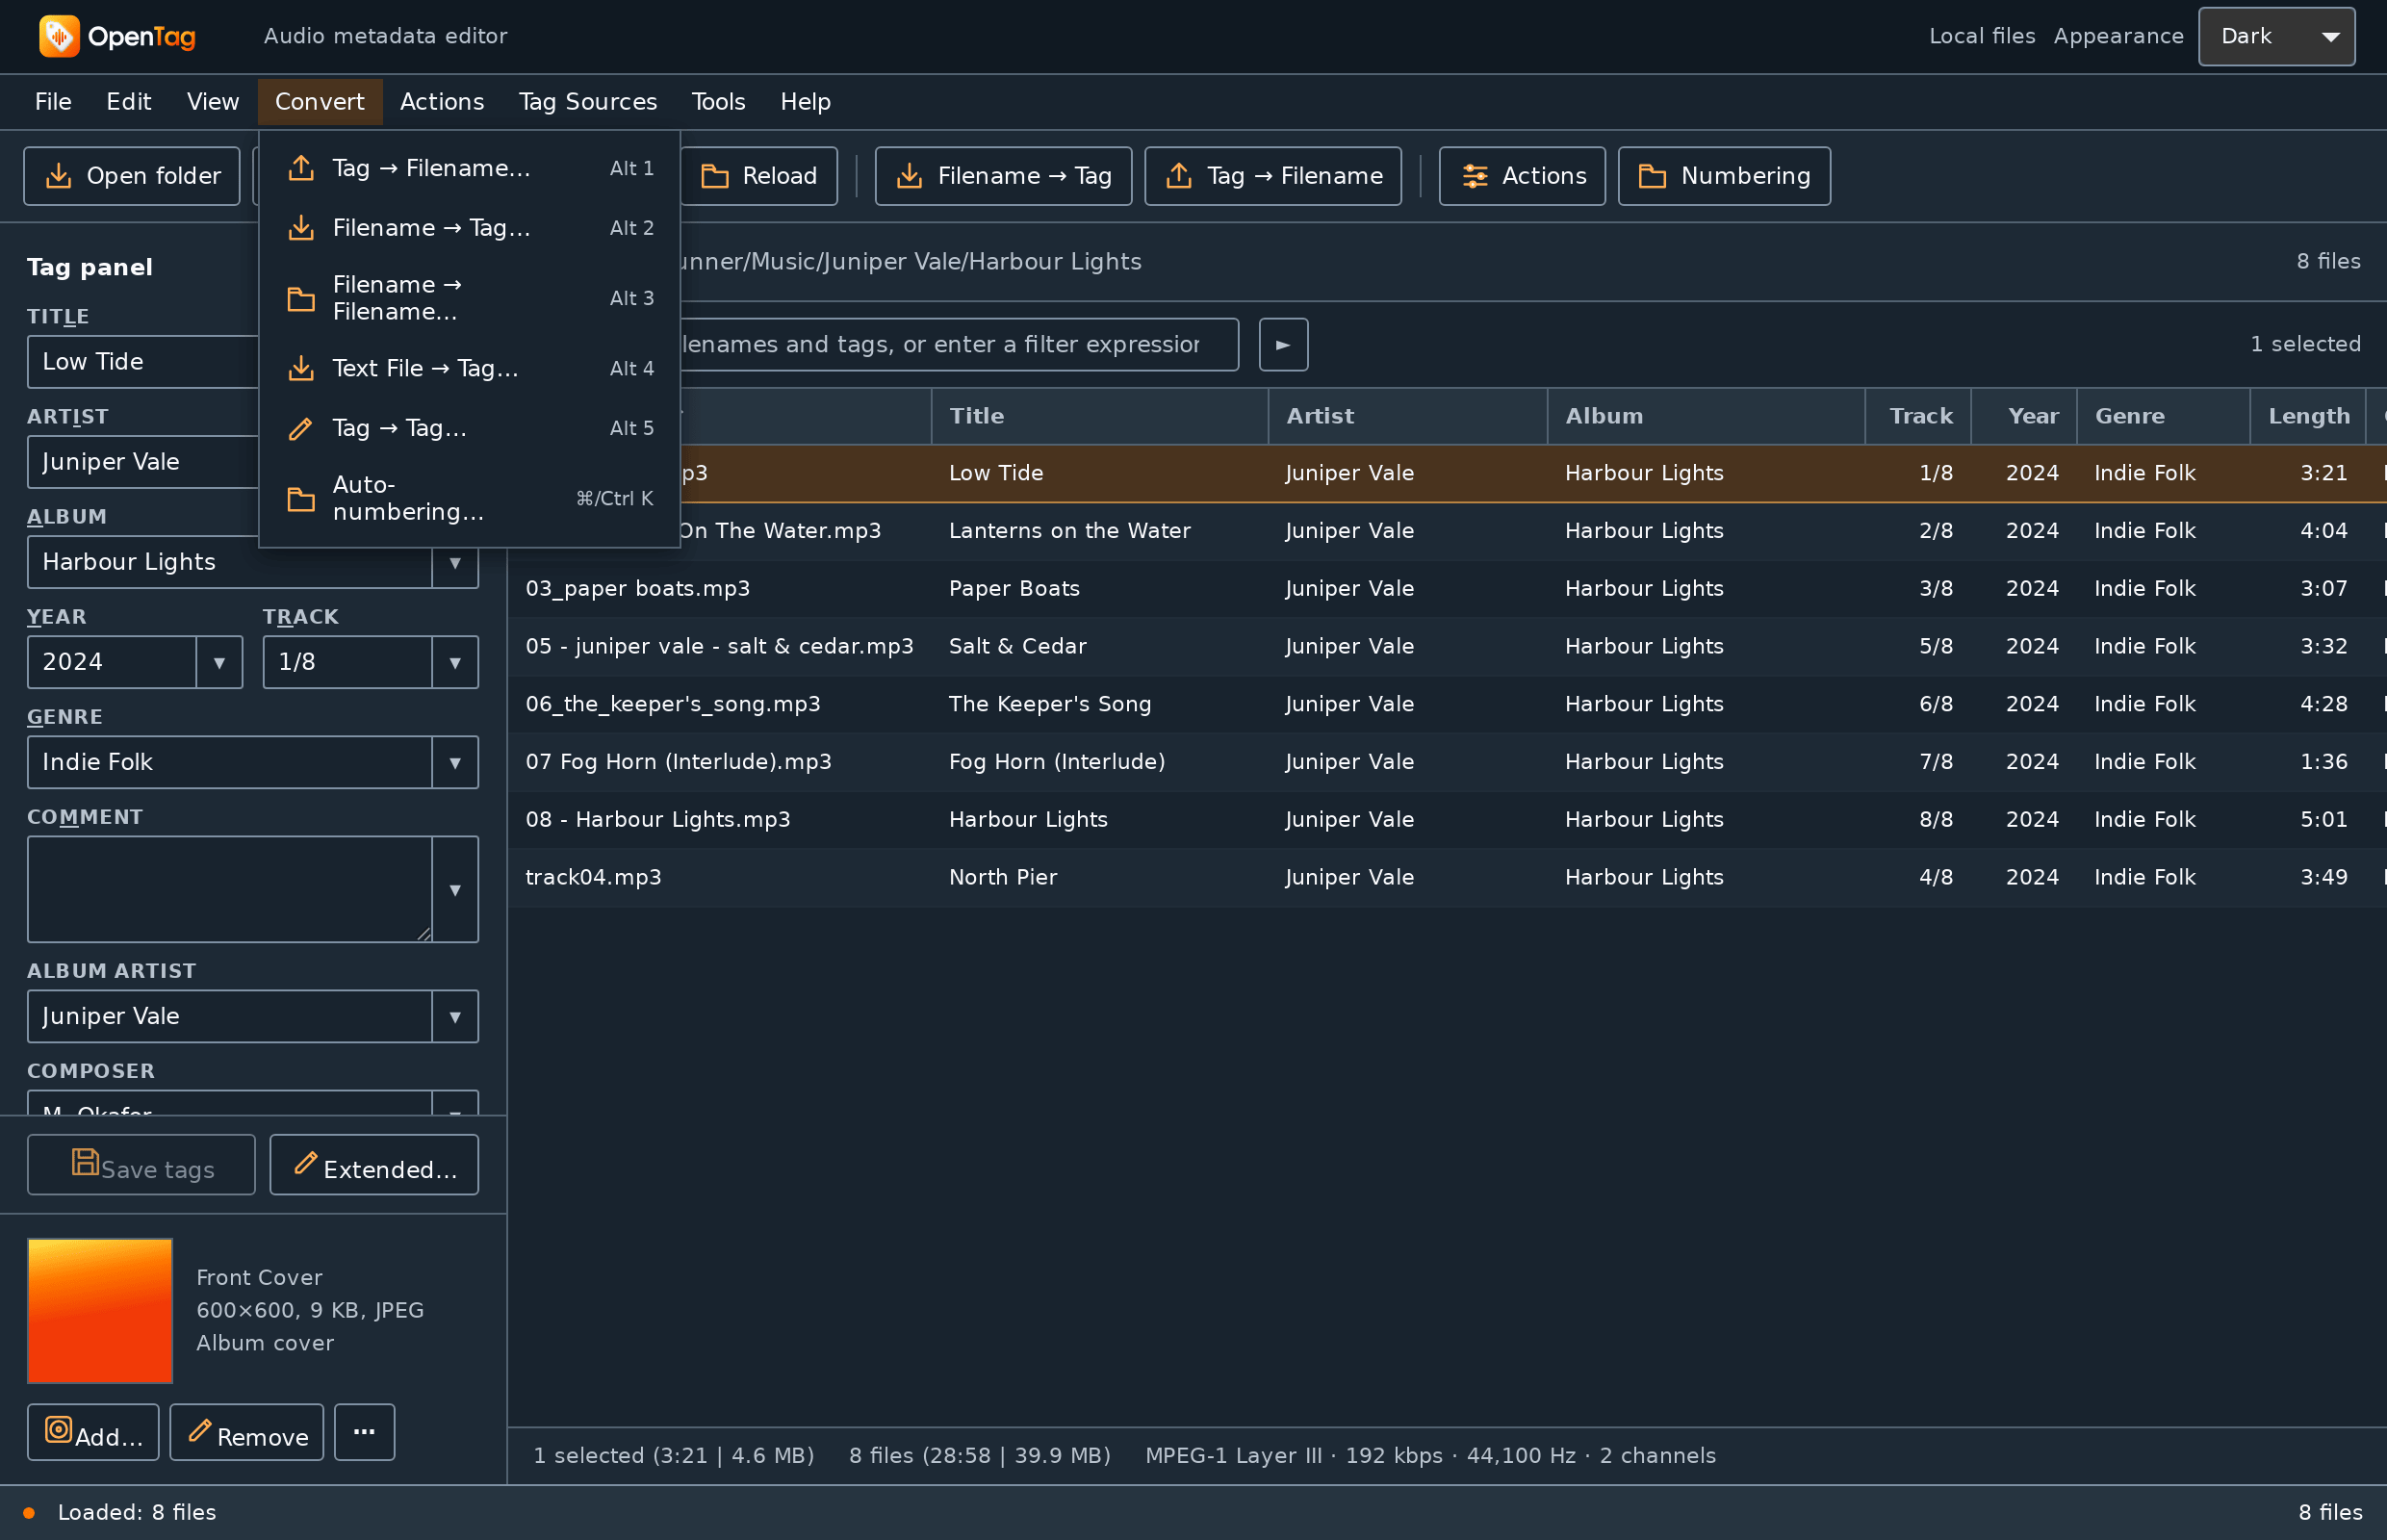
Open the Convert menu and choose Tag → Filename… (Alt+1).
-
In Format string, type:
%track%,%artist%and%title%are placeholders: OpenTag replaces each with that field's value.$num(…,2)writes the track number with two digits, so4/8becomes04. -
Click Preview. Each file shows its current name and, below it, its new one.
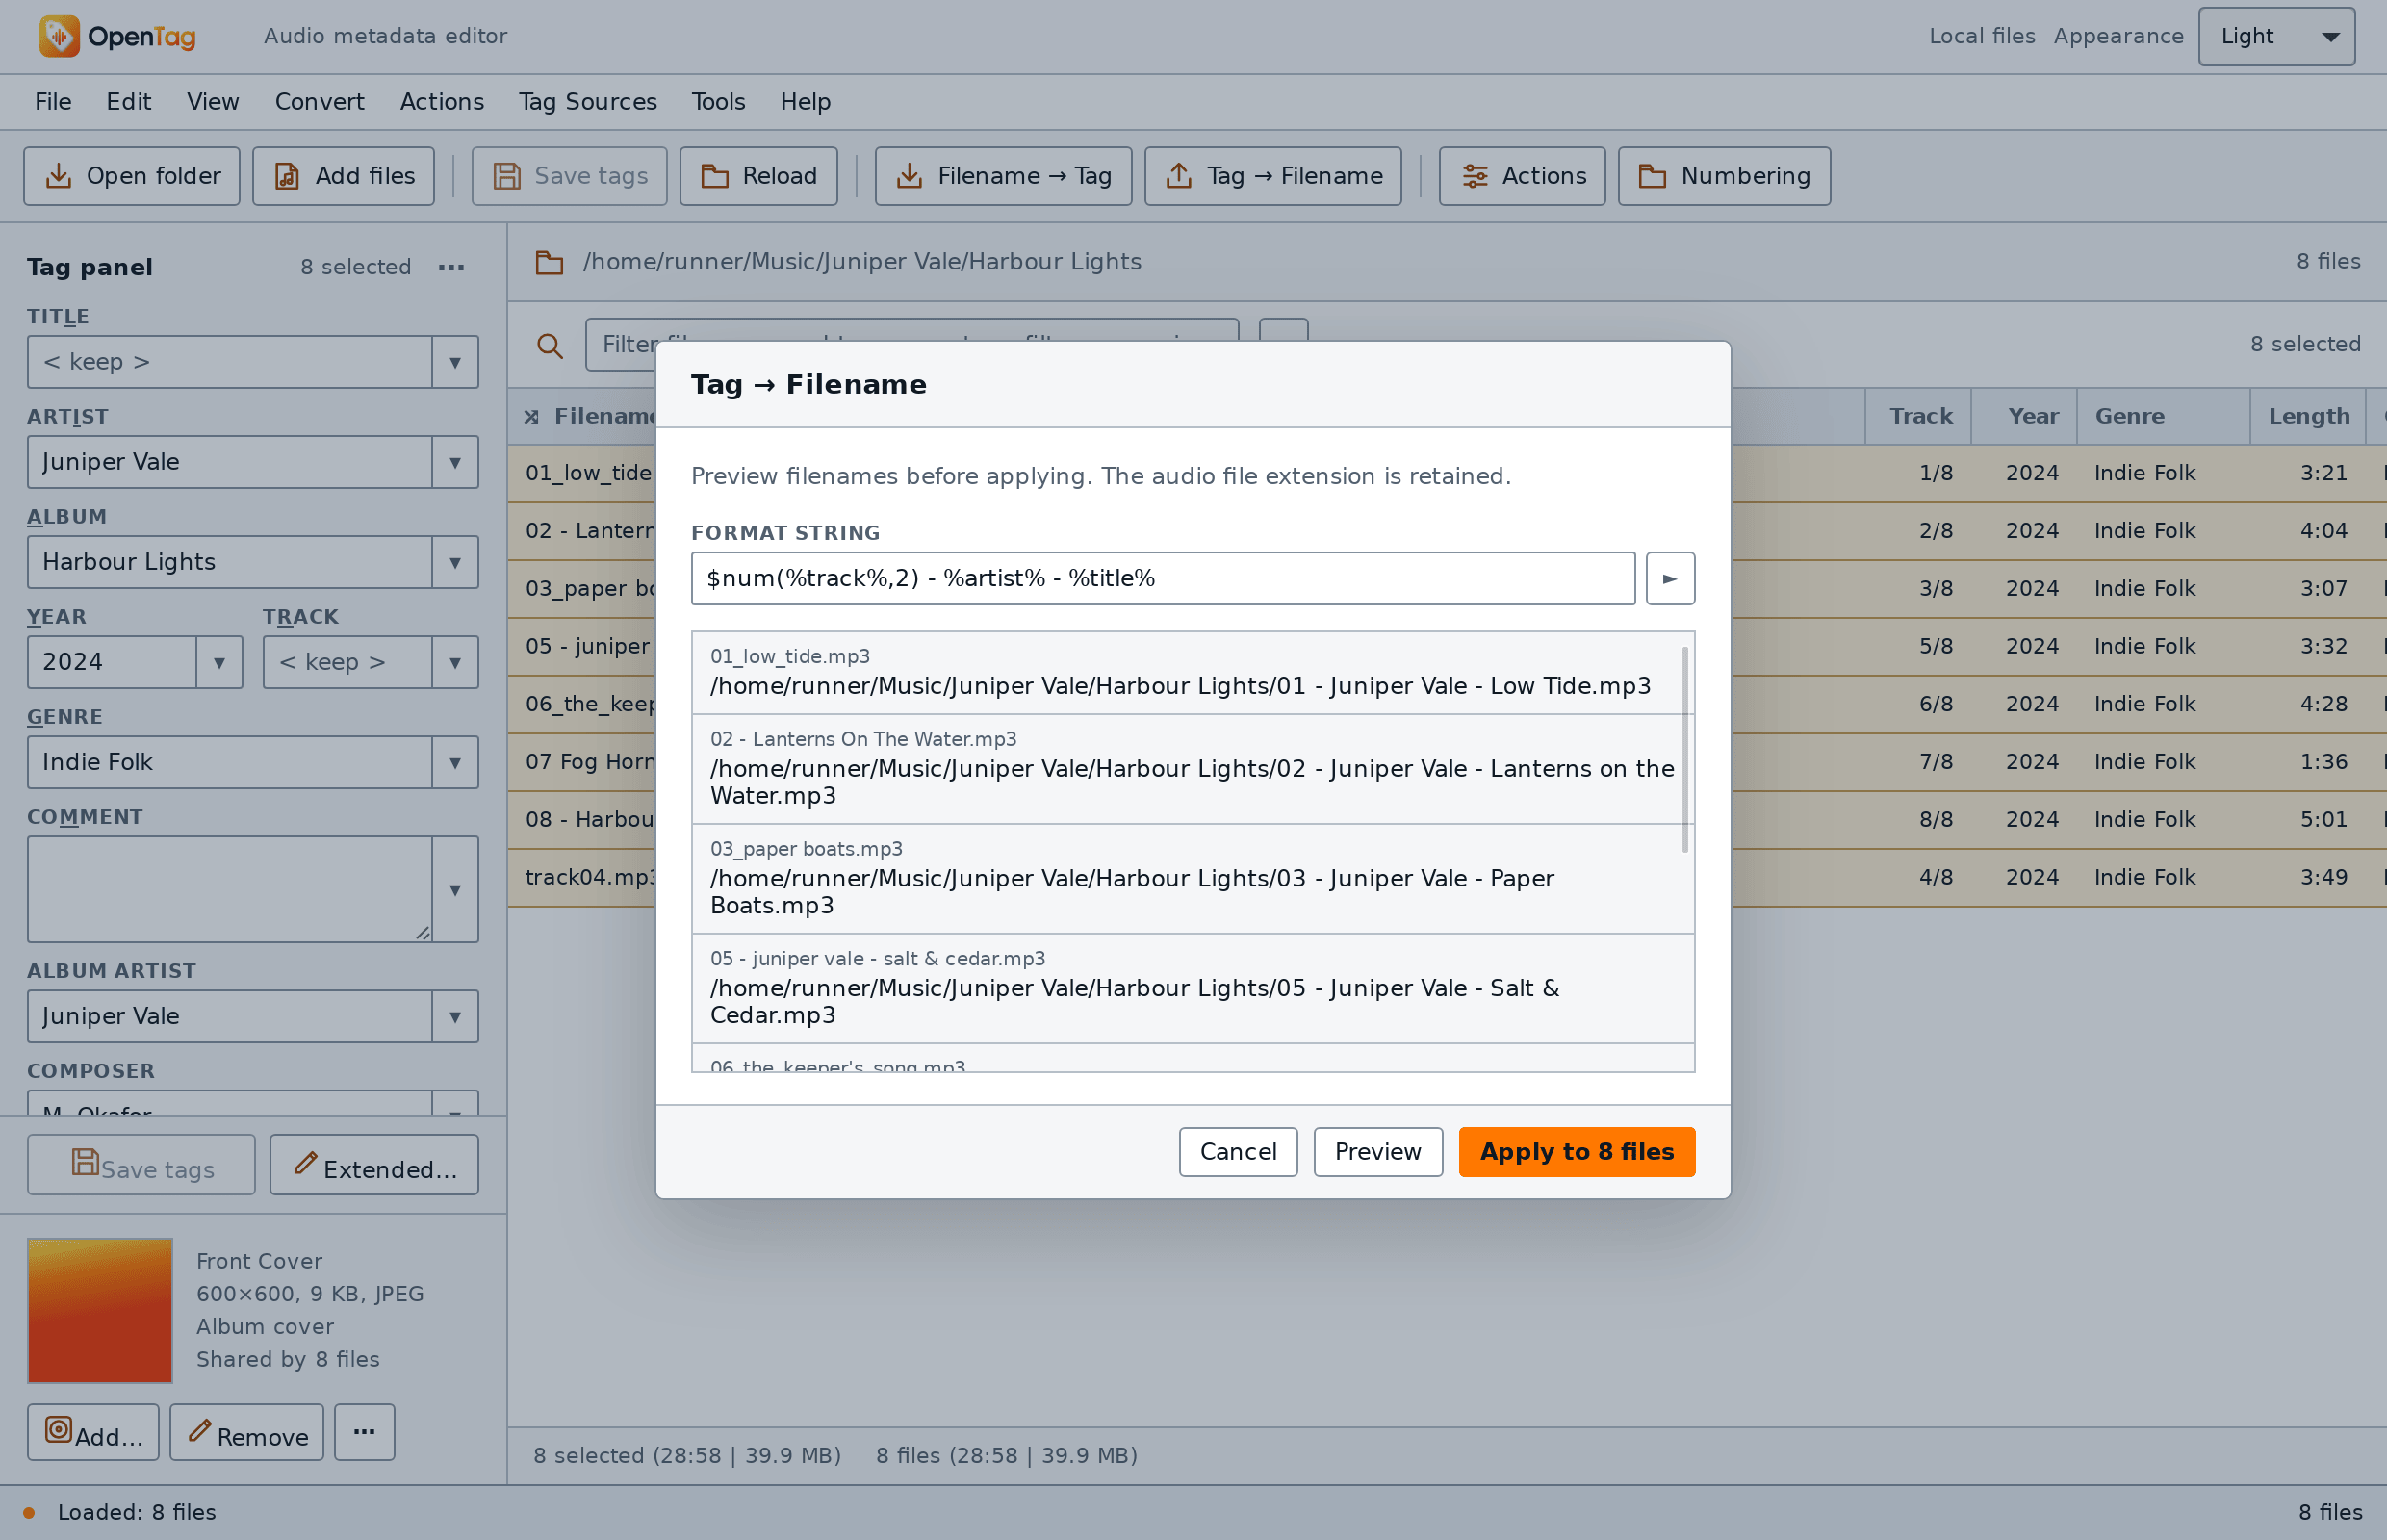
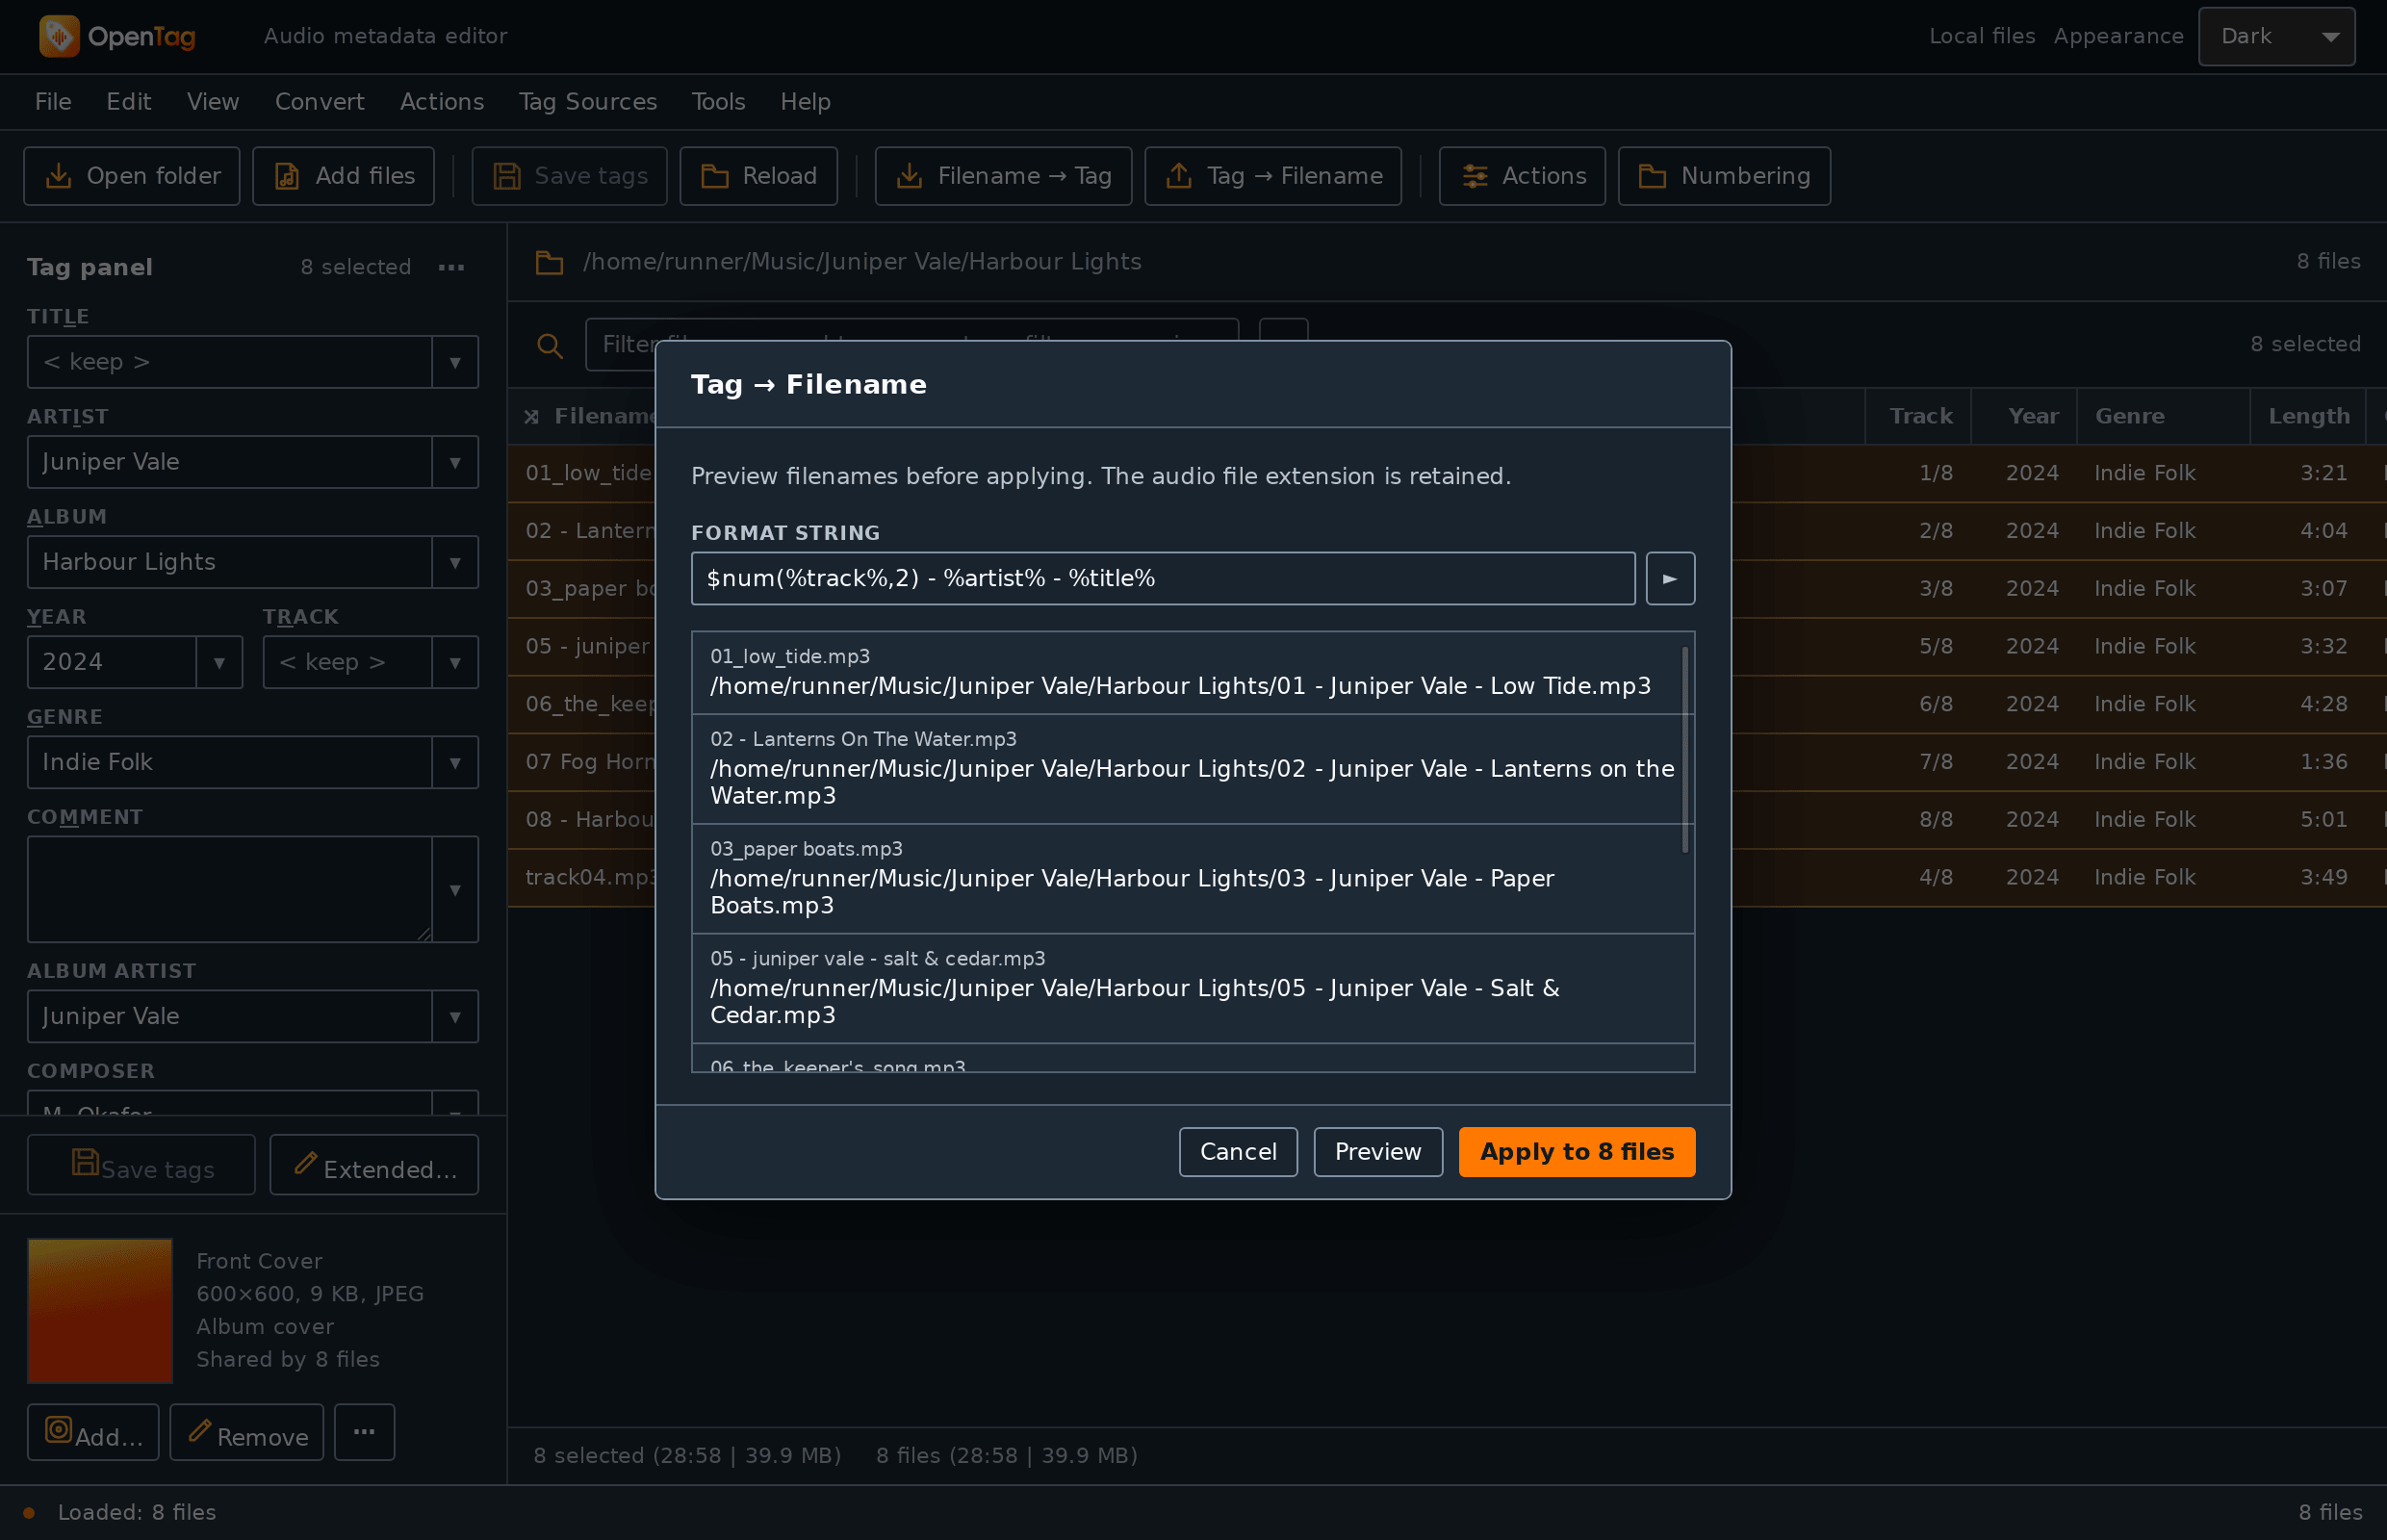
Preview shows every new name before anything changes. The extension is kept. -
Check the list, then click Apply to 8 files.
The files are renamed immediately. Renaming changes no tags, so there's nothing to save.
7. Undo, and change your mind
Suppose you'd rather have names without the artist. Choose Edit → Undo (Cmd+Z / Ctrl+Z). The menu item names the step it undoes, and the files get their old names back. Press Cmd+Y / Ctrl+Y to redo it.
Undo can restore saved tags and renames recorded in this session. Check the menu label before undoing, and keep the practice copy until you have verified your results. You can also undo the genre change from step 4.
What you learned
- The file list shows your files; the tag panel edits the selected ones.
- Edits are pending until you save them with Cmd+S / Ctrl+S.
- With several files selected,
< keep >protects the values that differ, and< blank >clears a field. - Extended tags (Alt+T) shows every field in a file.
- Tag → Filename builds file names from tags with a format string. Always preview first.
- Undo (Cmd+Z / Ctrl+Z) reverses saves and renames.
Next steps
- Zero-padded track numbers: adapt the naming pattern you just used.
- Tags from folder and file names: fill tags from names when working in the opposite direction.
- Format strings: look up optional parts, quoting and conditions for more complex names.